
Your Portfolio With Manablox · Part 2 of 7 in the series
Part 2: A Designed Portfolio Without Code
Create your first space as a ready-made portfolio, pick a theme and a design, and see your website running.
Quest objectives
- Understand spaces, content types and the content tree
- Create a portfolio space with the setup assistant
- Pick a theme and a site design
- Start the site process and visit your website
Your CMS is running and you have an account. Now it needs a place for your content. In Manablox that place is called a space: one website with its own pages, pictures, menus and languages. One installation can hold many spaces, for example your portfolio and a blog.
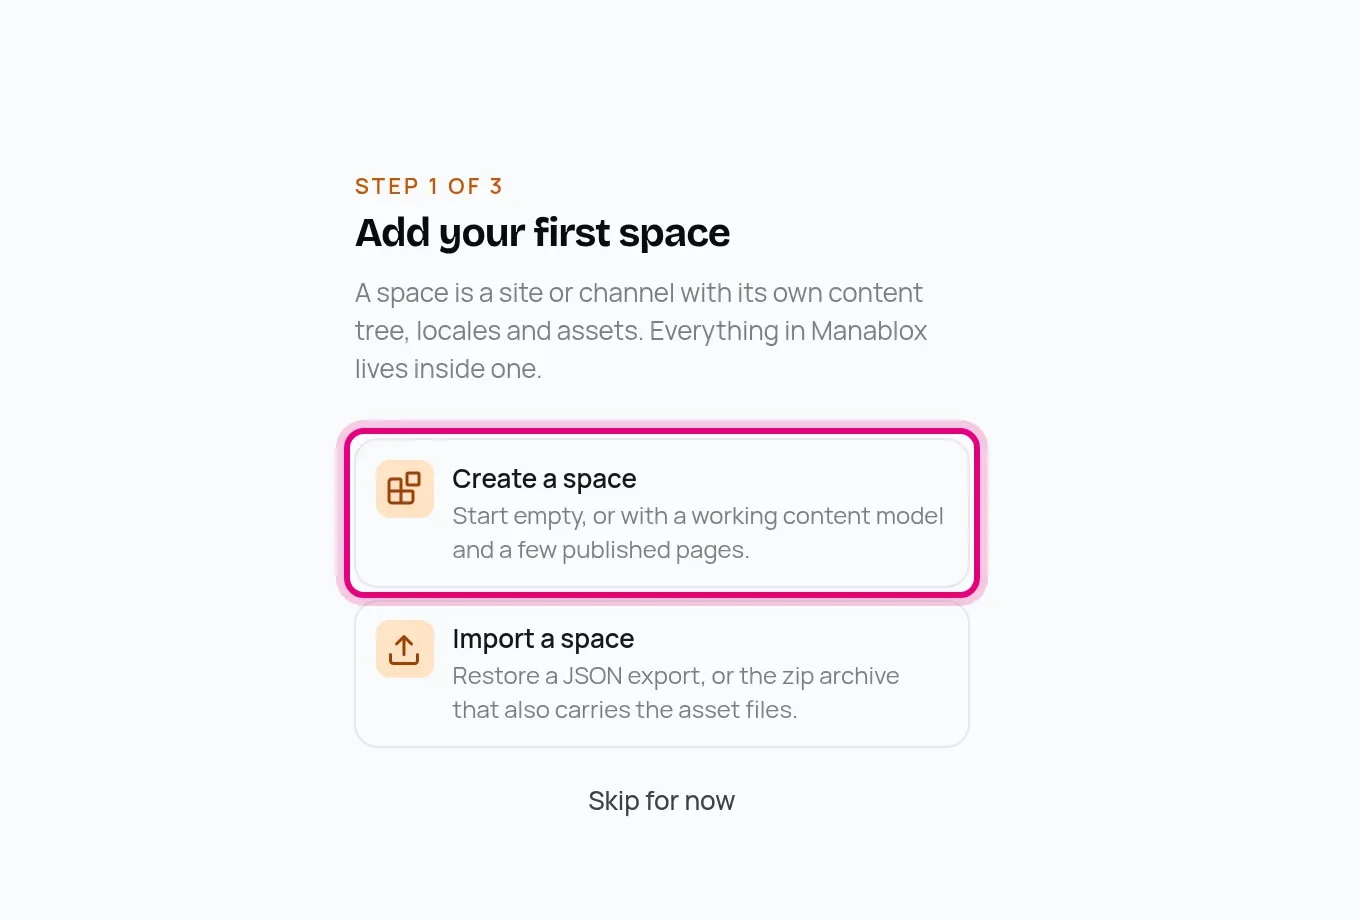
The setup assistant from the last part asks for the first space right after your account. Click Create a space.
Name and website
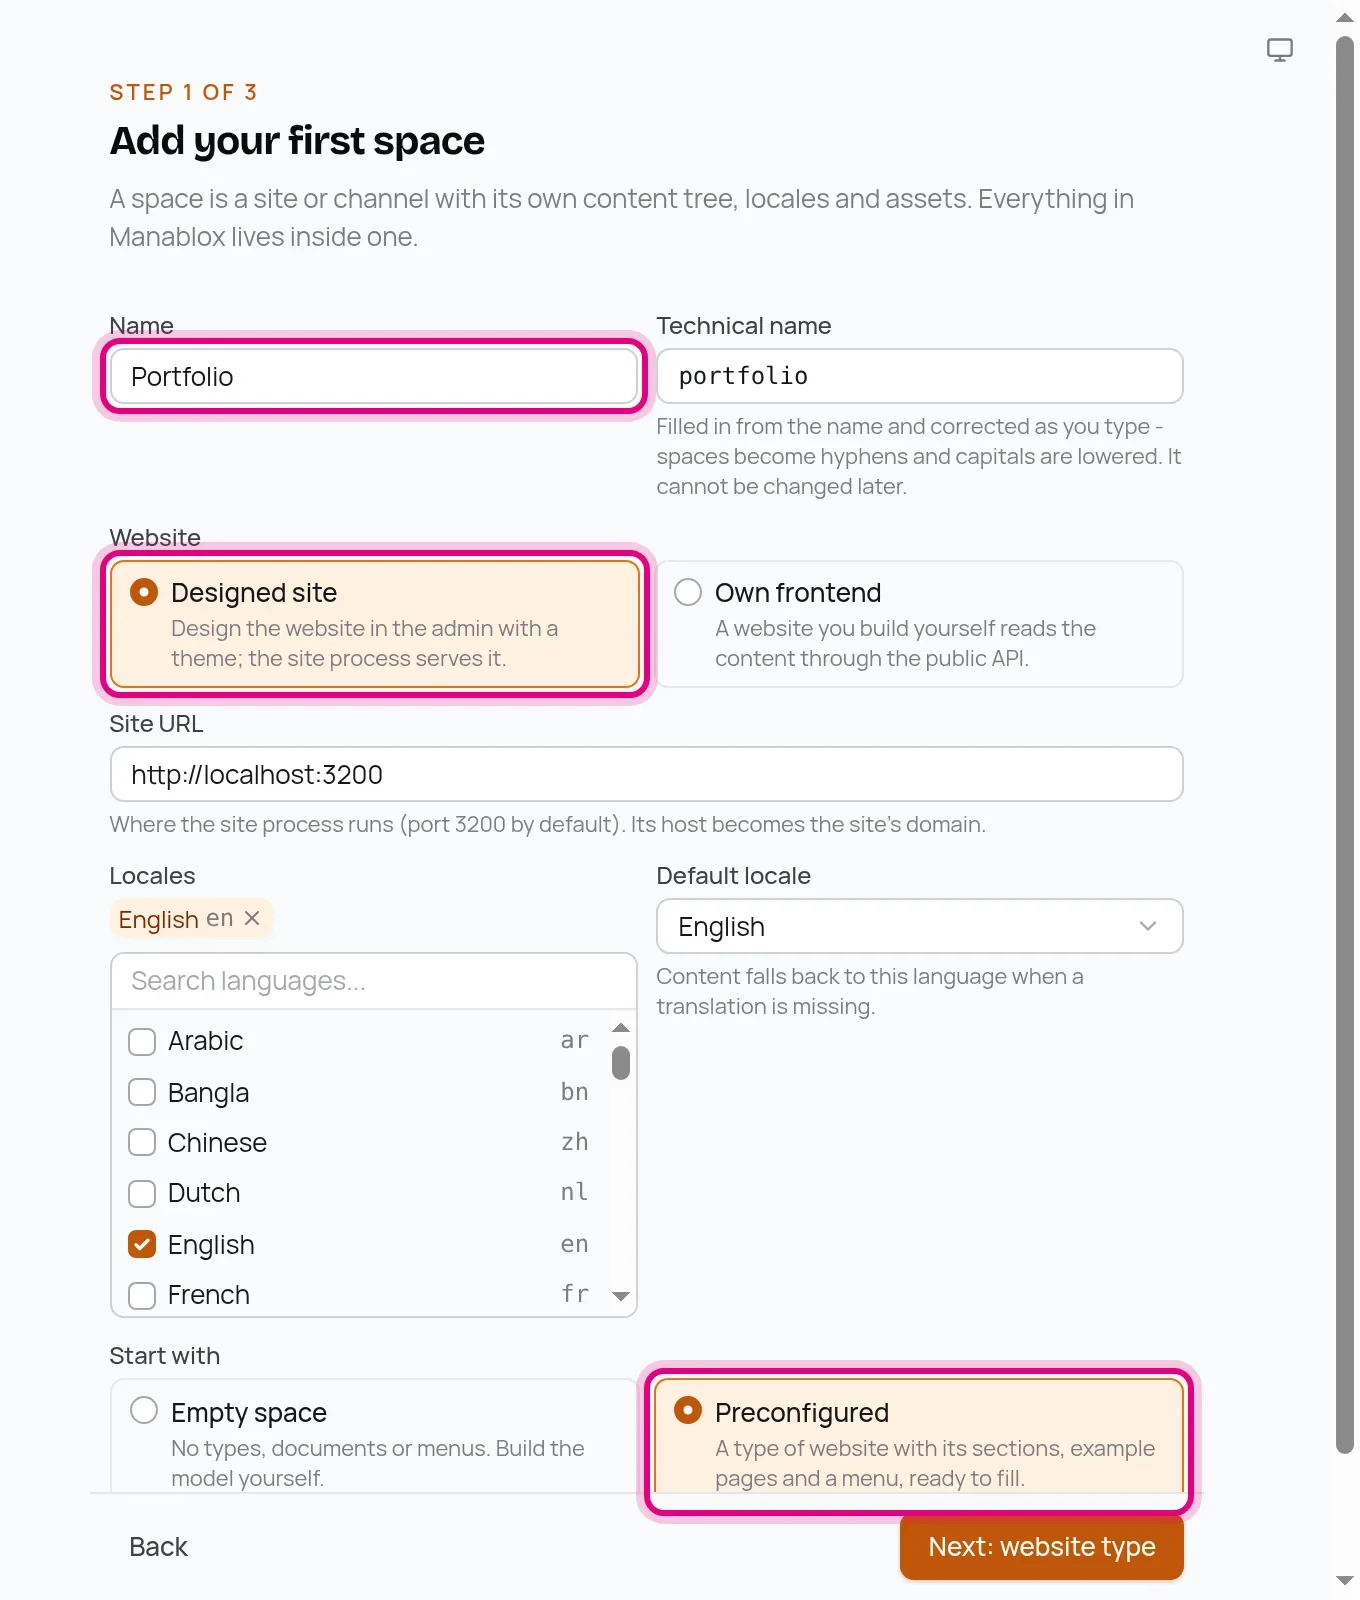
Fill in the form like this:
Name:
Portfolio. The technical name fills itself in. Programs use it to address the space, and it cannot change later.Website: Designed site. Manablox draws the website for you. The other choice, Own frontend, is what you switch to in part 4.
Site URL: keep
http://localhost:3200. That is where the designed site will run on your computer.Locales: English is enough for now. You can add more languages later.
Start with: Preconfigured, so you get content types, example pages and a menu instead of an empty space.
The website type
Next, Manablox asks what kind of website it is. Choose Portfolio.
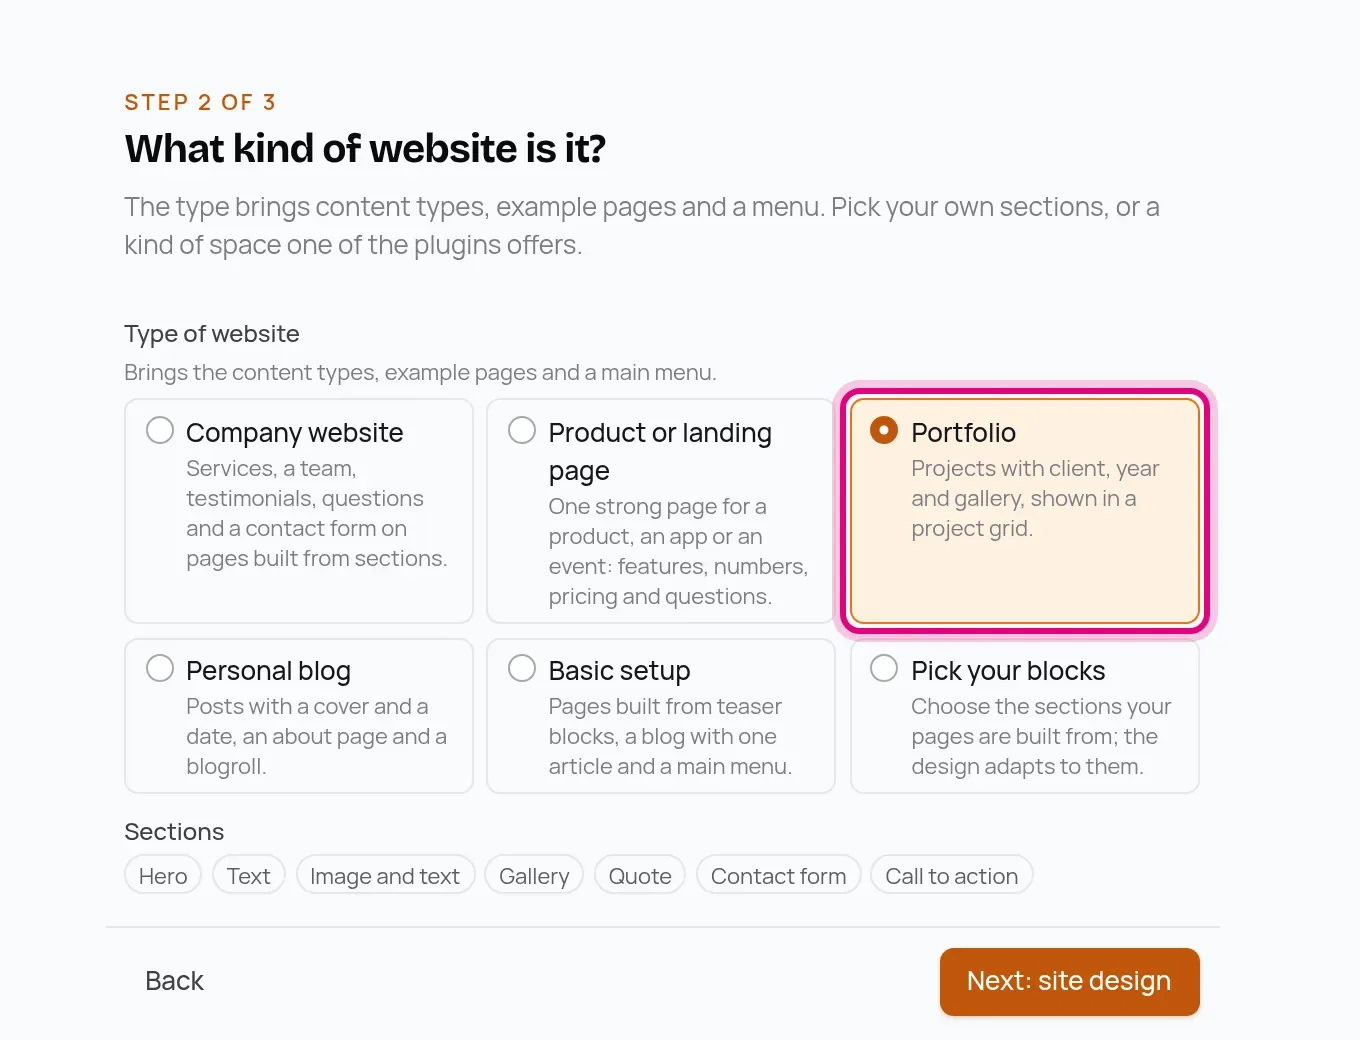
The portfolio type creates a lot for you:
A content type called Project. A content type is like a form: it says which fields a document has. A project has a client, a year, your role, a cover picture, a summary, a gallery and a text.
A content type called Page, built from blocks: sections such as a hero, a project grid, a gallery, a quote or a contact form, which you stack in any order.
Example pages (Home, Work, About and Contact), three example projects and a main menu that links them.
Theme and design
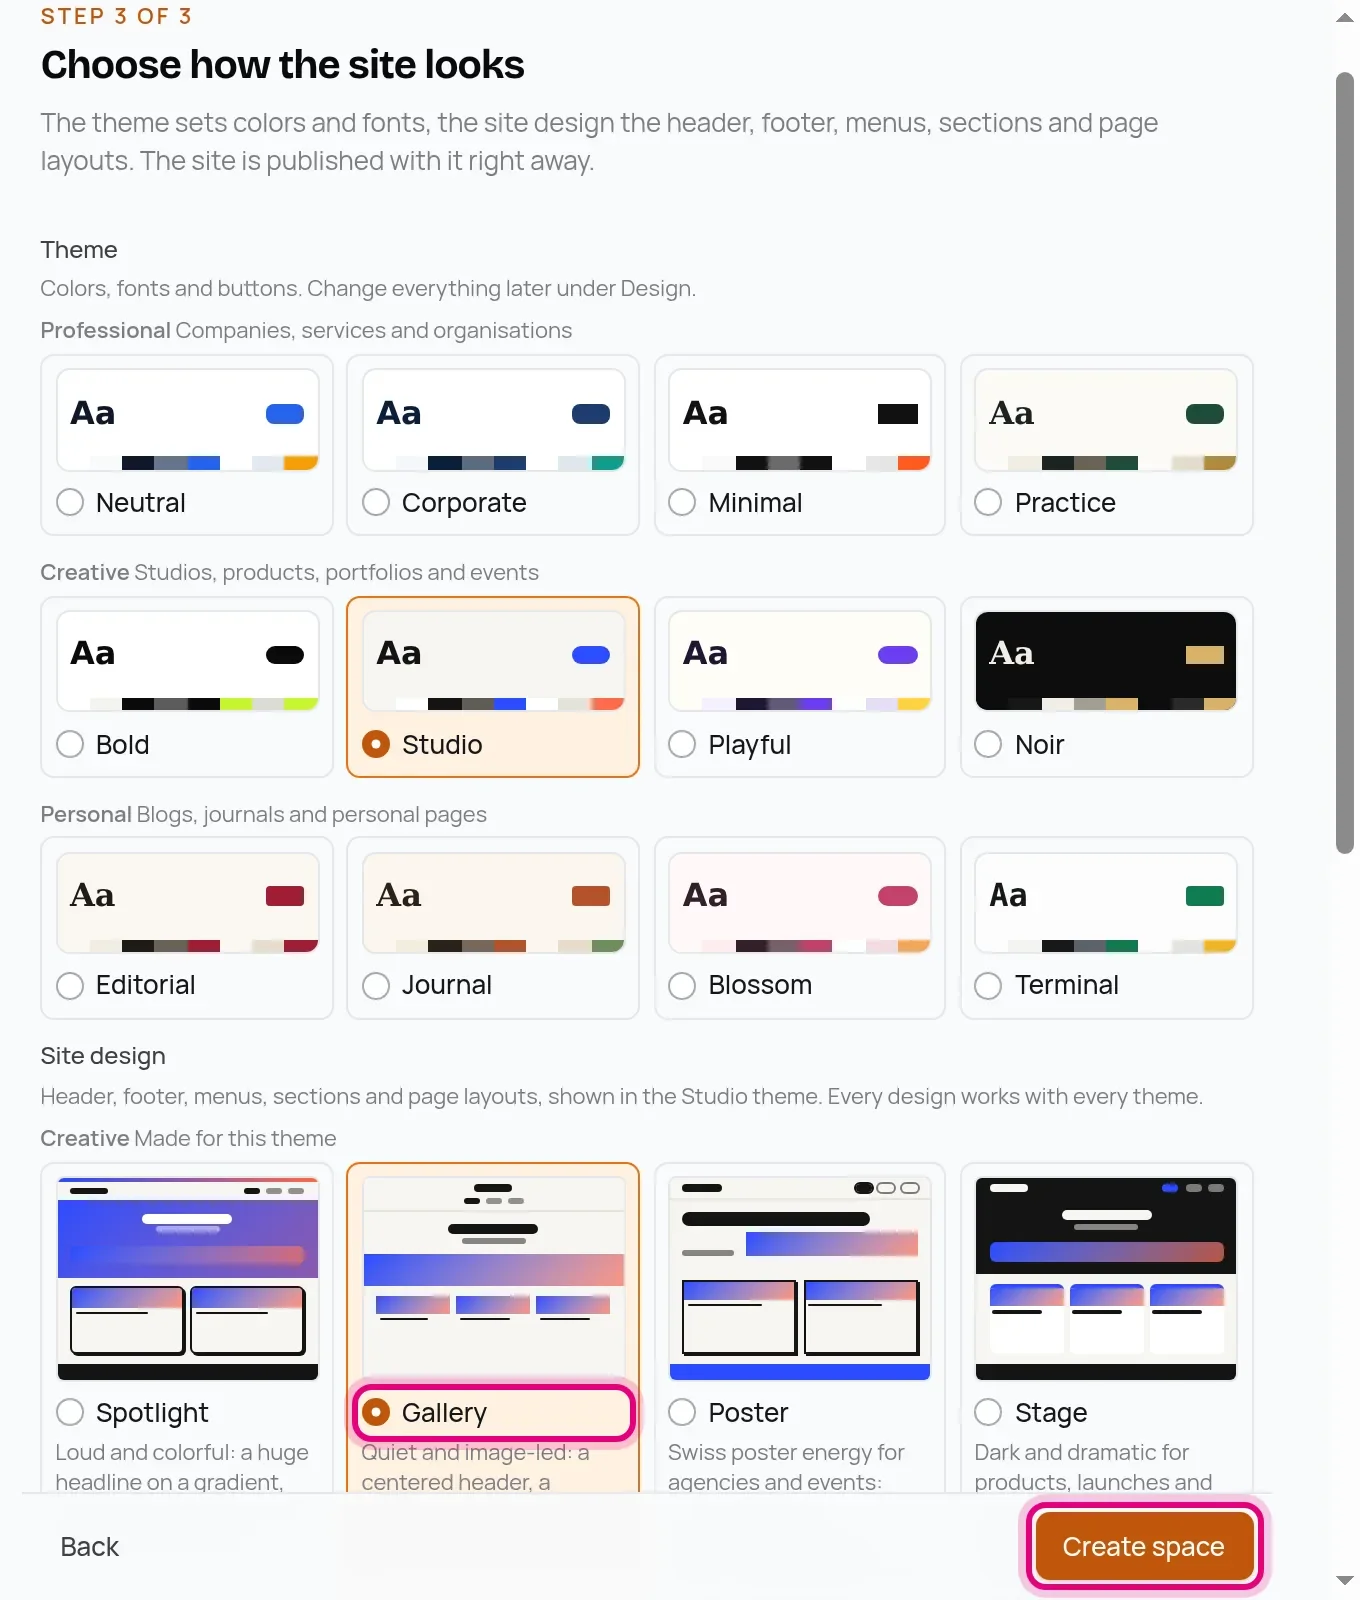
The last step is the look. The theme sets colors, fonts and buttons. The site design sets the layout: header, footer, menus and how every section looks. Any design works with any theme, and you can change both at any time, so just pick what you like. Robin chose the theme Studio and the design Gallery, which is quiet and puts pictures first. Then click Create space.
A tour of the admin
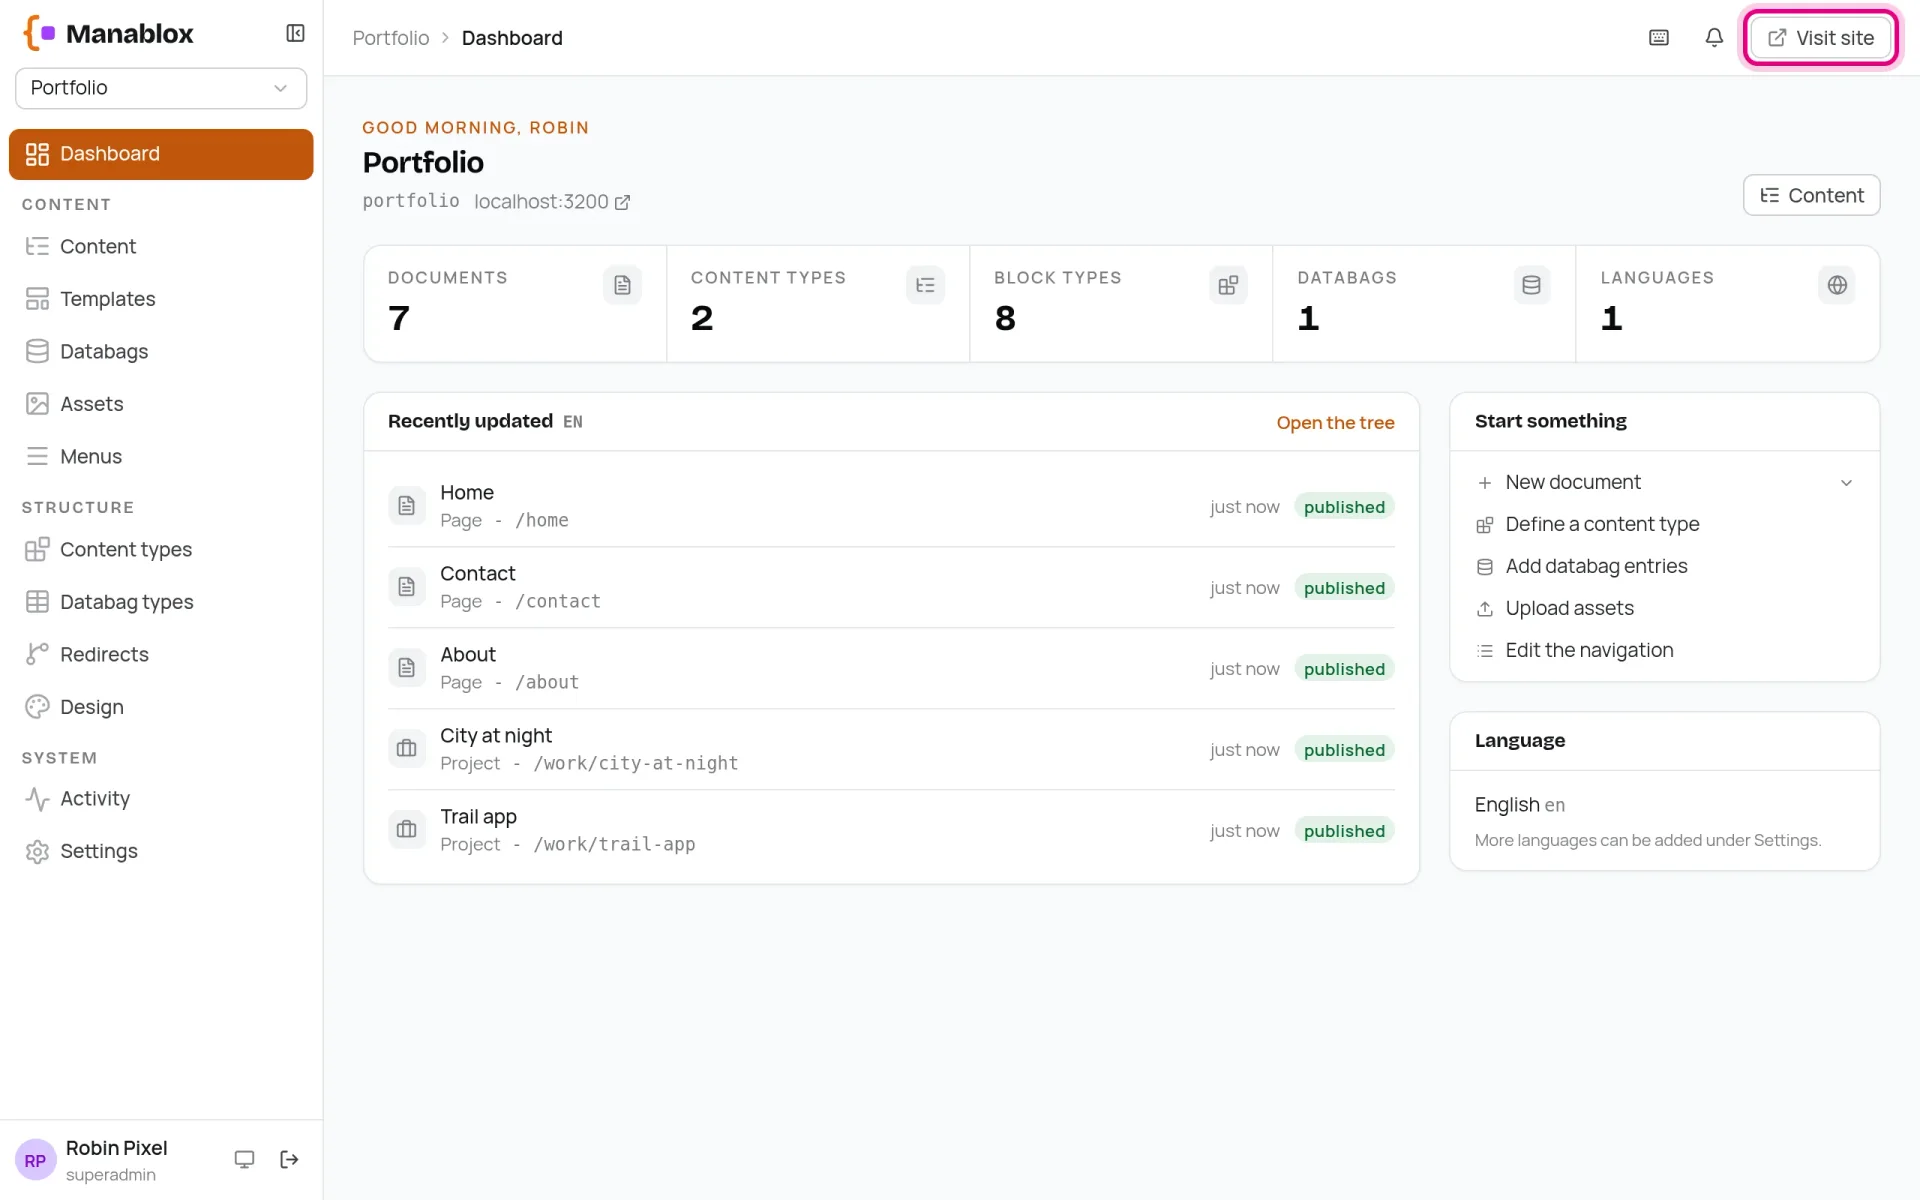
Click Go to the admin. The dashboard shows what is in your space: seven documents, two content types and eight block types. The sidebar has everything else:
Content: your pages and projects.
Assets: pictures and files.
Menus: the navigation of your website.
Content types: the forms behind your documents.
Design: theme, layouts and the look of every block.
Settings: languages, users, export and more.
Start the site process
A designed site is shown by its own process, the site process. Open a second terminal, keep the first one with pnpm dev running, and start it:
# in a second terminal, while pnpm dev keeps running$ cd my-portfolio$ pnpm dev:site[06:53:55] INFO (2233): manablox initialised fieldTypes: 15 contentTypes: 13 plugins: [ "@manablox/fields", "website" ][06:53:55] INFO (2233): manablox website listening url: "http://0.0.0.0:3200" mode: "website"
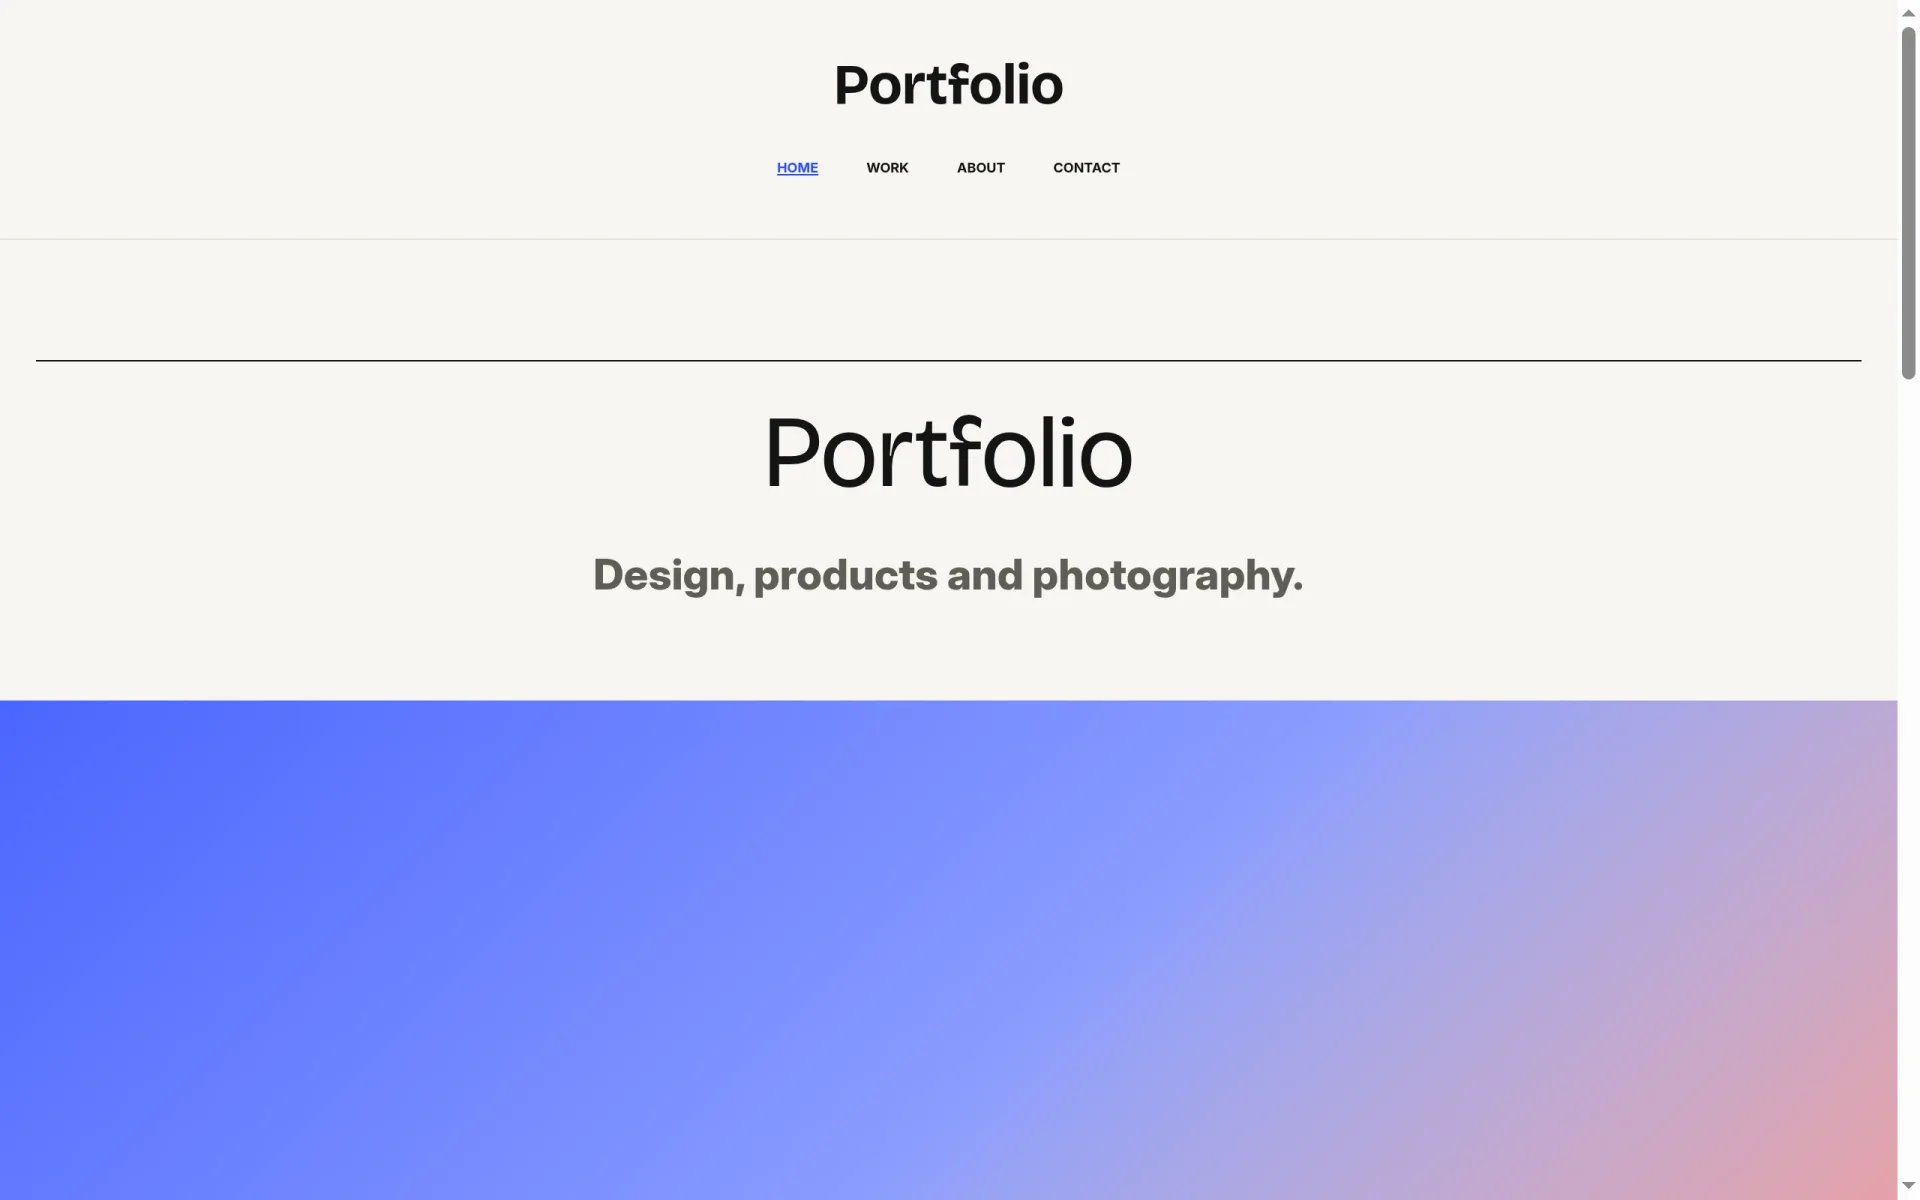
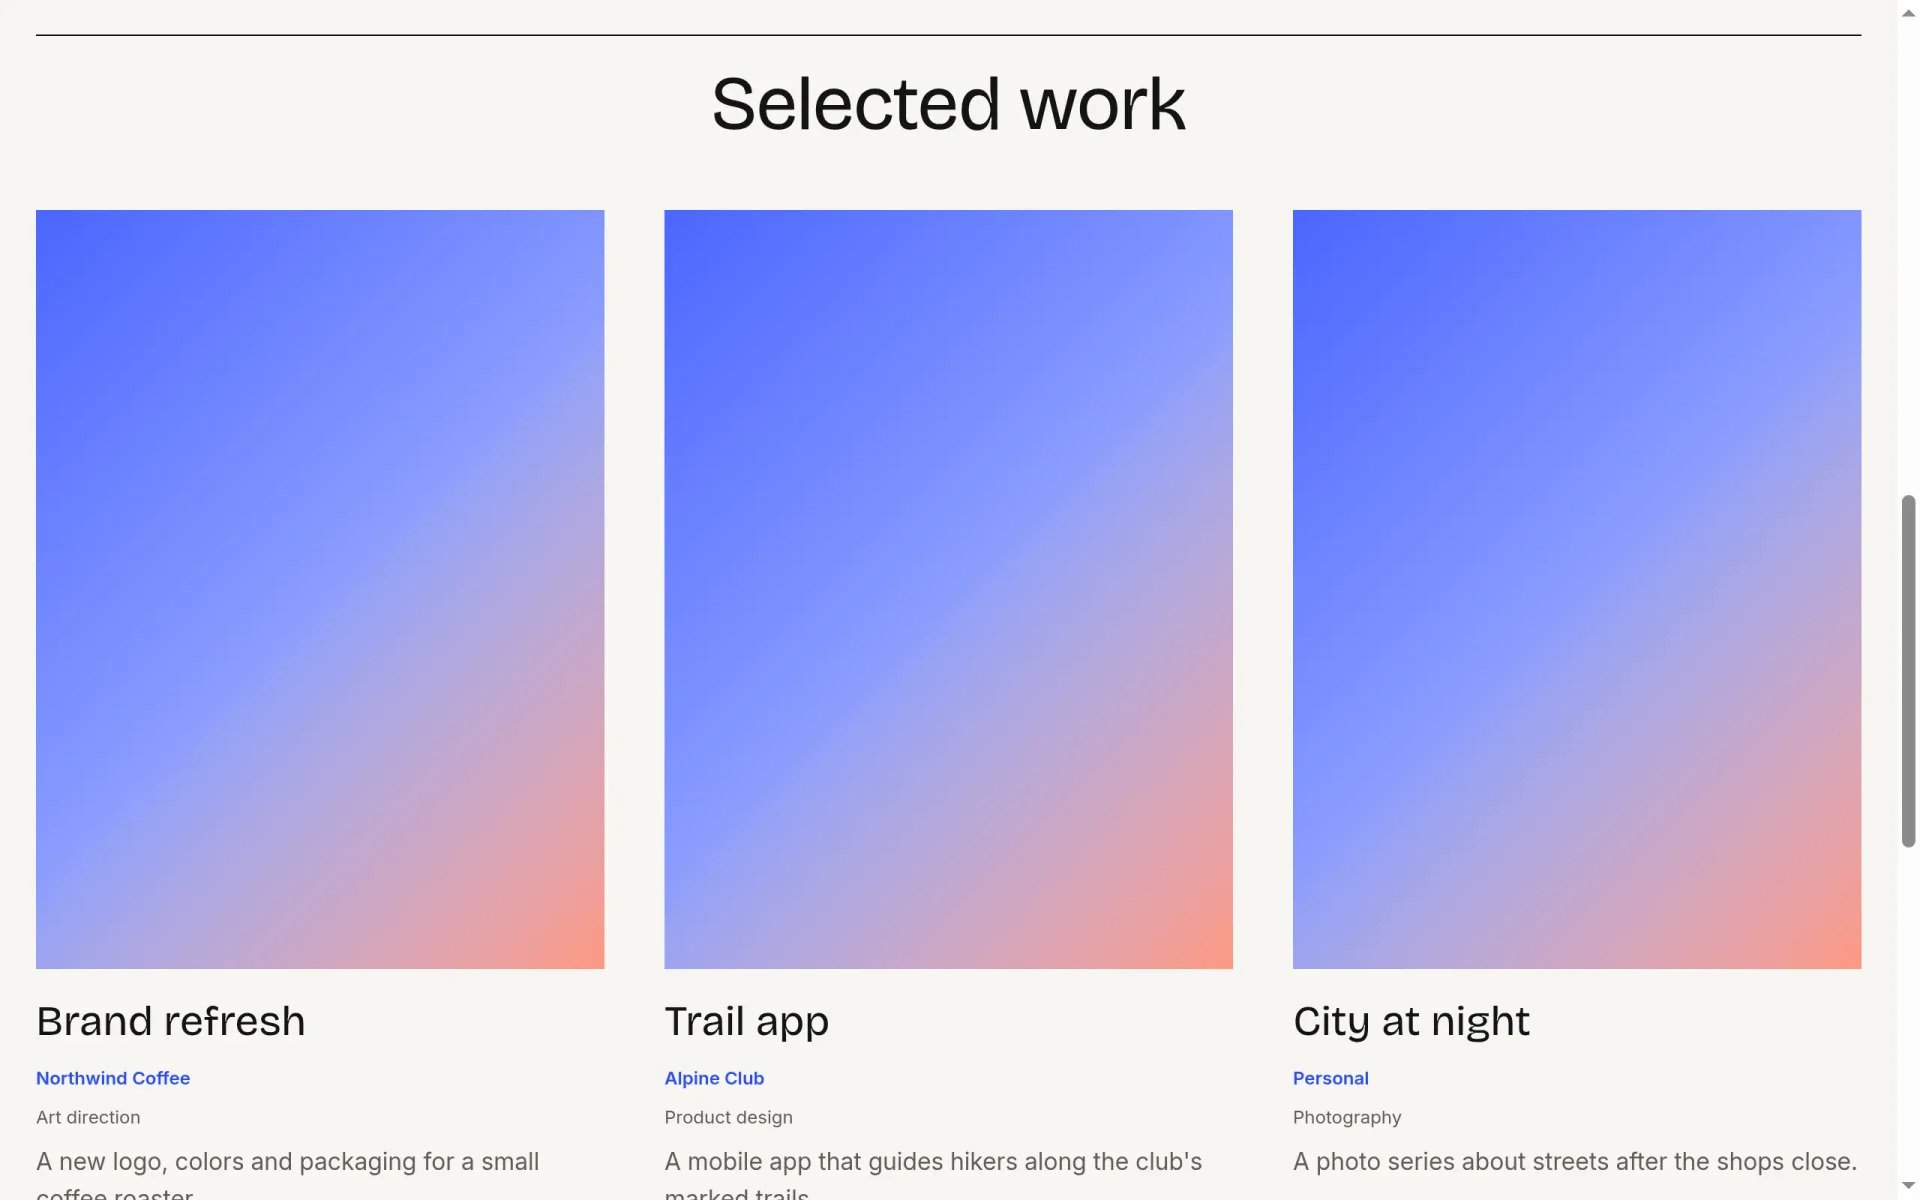
Now click Visit site in the admin, or open http://localhost:3200. That is your website, ready to be filled:
How the content is organized
Click Content in the sidebar. The column in the middle is the content tree, and it is the map of your website: the place of a document in the tree is its address. Work lives at /work, and the project Brand refresh under it at /work/brand-refresh. Click the arrow next to Work to see its three projects.
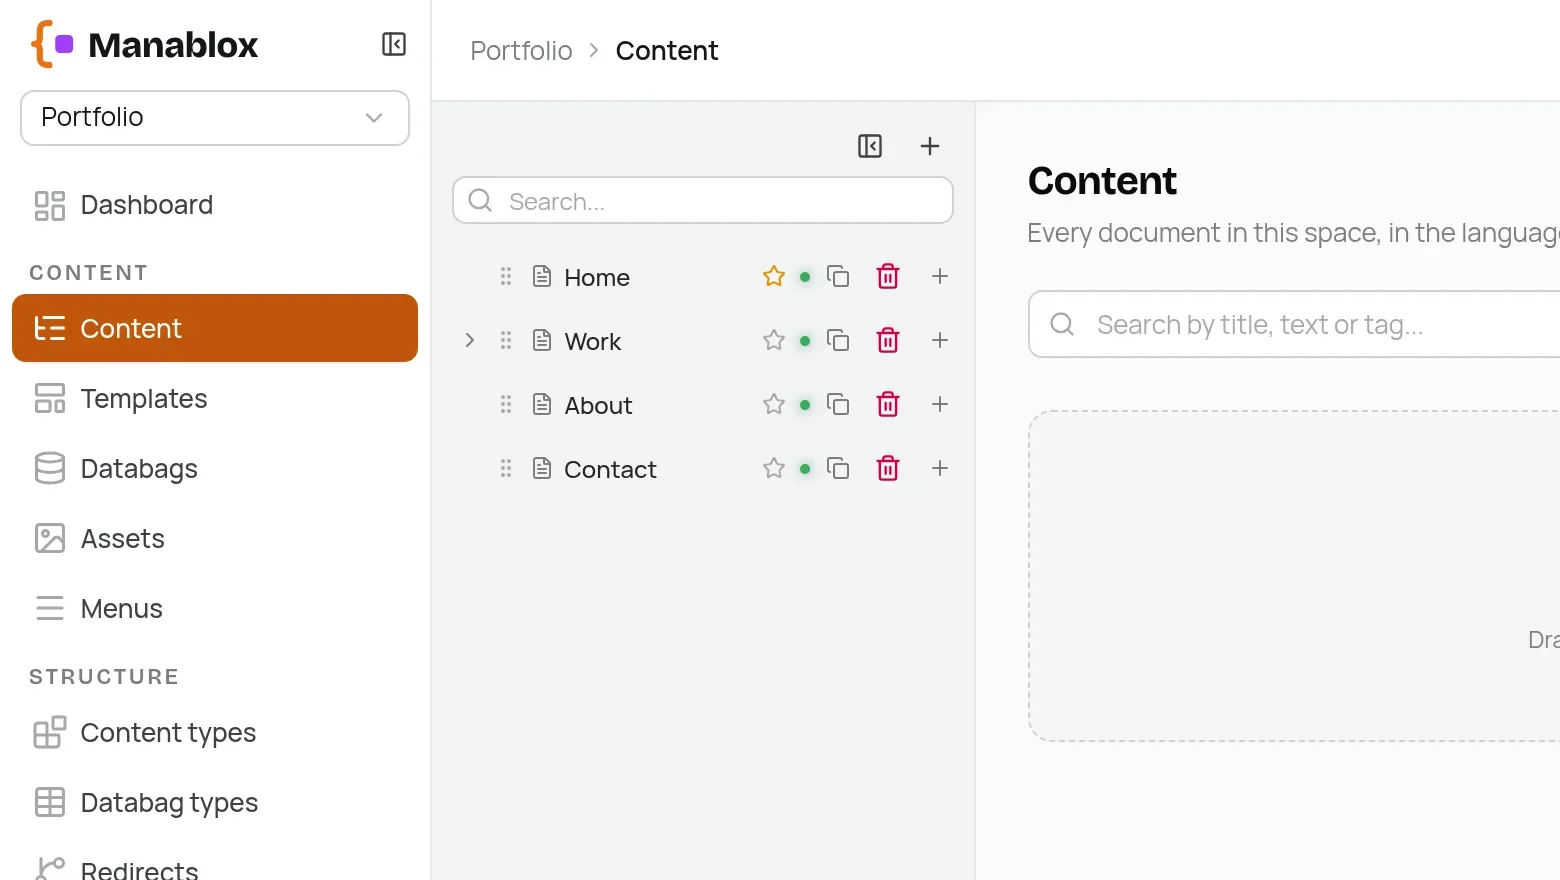
The icons on each row do the most common jobs: the star makes a page the home page, the green dot shows that it is published, then come duplicate, delete and + to add a page underneath. You will use them in the next part, where Robin's projects replace the examples.