
Your Portfolio With Manablox · Part 1 of 7 in the series
Part 1: Install Manablox and Create Your CMS
Install Node.js, pnpm and Docker, create a Manablox project with one command and set up your admin account.
Quest objectives
- Know what a CMS does and what you will build in this series
- Install Node.js, pnpm and Docker
- Create and start a Manablox project
- Create your administrator account in the admin
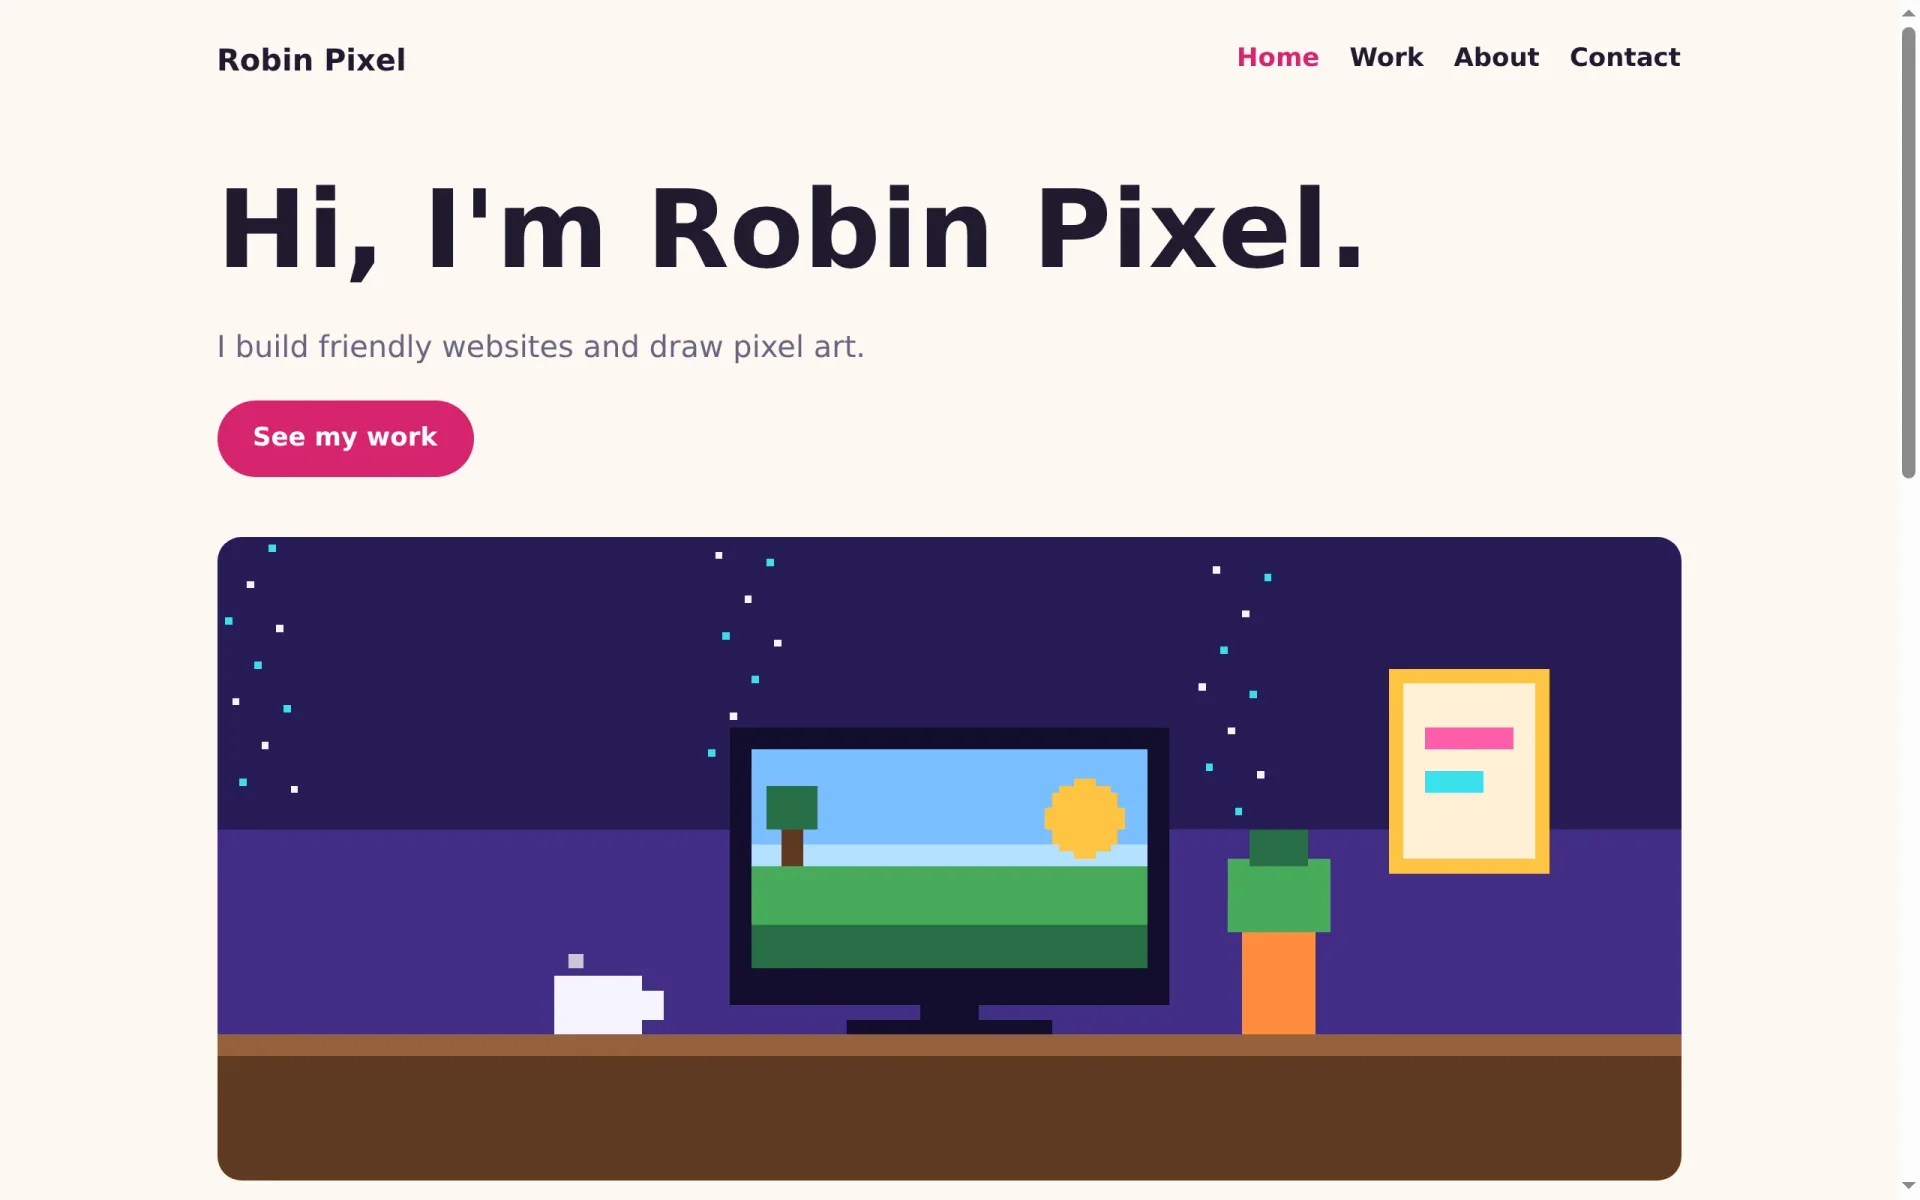
In this series you build a portfolio website: a home page that introduces you, a page for every project you are proud of, an about page and a way to contact you. You build it twice. First without a single line of code, with a design from the CMS. Then a second time with your own frontend in Astro, where you decide every detail. In the last part you put it online with your own domain.
The example portfolio belongs to Robin Pixel, a made-up web developer and pixel artist. Use your own name, texts and pictures wherever you see Robin's.
What is a CMS?
A content management system (CMS) keeps the content of a website, such as texts, pictures and the menu, apart from its code. You edit the content in a friendly admin interface in your browser, and the website shows whatever is published there. Changing a project description then means typing it in a form, not editing an HTML file.
Manablox is a free, open source CMS that runs on Node.js. It can show your website itself, with designs you pick in the admin, or hand the content to a website you build yourself through an API. You will try both.
What you need
A computer with macOS, Linux or Windows.
A code editor. Visual Studio Code is free and a good start.
A terminal. On macOS it is called Terminal, on Linux it comes with your system.
How to read the terminal boxes
A terminal is a window where you type commands instead of clicking. In the boxes of this series, a line that starts with $ is a command: type it without the $ and press Enter. The lines after it show what the terminal answers. Your version numbers and times will differ a little, and that is fine. Copy commands copies only the commands, and Replay plays the box again.
Install the tools
You need three programs:
Node.js runs JavaScript outside the browser, and Manablox is written in it. Install version 24 (LTS) from nodejs.org.
Docker runs ready-made programs in containers, so you don't have to install them one by one. Install Docker Desktop and start it.
pnpm downloads JavaScript packages. It comes after Node.js, because you install it with npm, the package manager that ships with Node.js.
Open a new terminal after installing Node.js and Docker, and check that both are there:
$ node --versionv24.22.2$ pnpm --version12.16.1$ docker --versionDocker version 29.9.2, build a82e528
Then install pnpm:
$ npm install --global --allow-scripts=pnpm pnpmadded 2 packages in 1s$ pnpm --version12.16.1
Create your CMS
Manablox comes with a command line tool that writes a complete project for you. pnpm dlx downloads it and runs it once, so there is nothing else to install. Go to the folder where you keep your projects and run:
$ pnpm dlx @manablox/cli create my-portfolio --database sqlite --website --yesmanablox: installing @manablox/plugin-website@0.52.0Writing my-portfolioWrote 13 files to my-portfolioInstalling dependencies with pnpmDependencies installedInitialised a git repositoryNext steps cd my-portfolio pnpm services:up # valkey pnpm migrate pnpm dev # open http://localhost:3000 and sign in as admin@example.com
What the options mean:
my-portfoliois the folder the project goes into.--database sqlitekeeps the whole database in one file,data/manablox.db. There is no database server to set up.--websiteadds the designed websites, which you use in the next part.--yestakes the default for every question the tool would otherwise ask.
Open the folder in your editor. These are the files that matter:
my-portfolio/
├── .env                       secrets and settings, never share this file
├── compose.yml                Valkey and Mailpit, the helpers that run in Docker
├── content-model.ts           content types written in code (we use the admin instead)
├── manablox.config.ts         the CMS and its admin
├── manablox.public.config.ts  the public API your website will read from
├── manablox.site.config.ts    the site process that shows designed websites
├── package.json               the packages and the pnpm commands
└── README.md                  what every file is for
Start the CMS
Three commands get it running. pnpm services:up starts two helpers in Docker: Valkey, a small, fast memory store that Manablox uses for its cache and its background jobs, and Mailpit, which catches every email the CMS sends, so you can read them at localhost:8025. pnpm migrate creates the tables in the database. pnpm dev starts the CMS and restarts it whenever you change a file.
$ cd my-portfolio$ pnpm services:up Network my-portfolio_default Created Volume my-portfolio_valkey-data Created Container my-portfolio-valkey-1 Started Container my-portfolio-mailpit-1 Started$ pnpm migratemanablox: migrations applied$ pnpm dev[06:52:30] INFO (2070): manablox initialised fieldTypes: 15 contentTypes: 2 plugins: [ "@manablox/fields", "website" ][06:52:30] INFO (2070): manablox listening url: "http://0.0.0.0:3000" mode: "management"
Create your account
Open http://localhost:3000 in your browser. localhost means your own computer, and 3000 is the port, the door the CMS listens at. Because nobody has an account yet, Manablox greets you with a setup assistant.
Enter your name, your email address and a password with at least 12 characters, then click Create account.
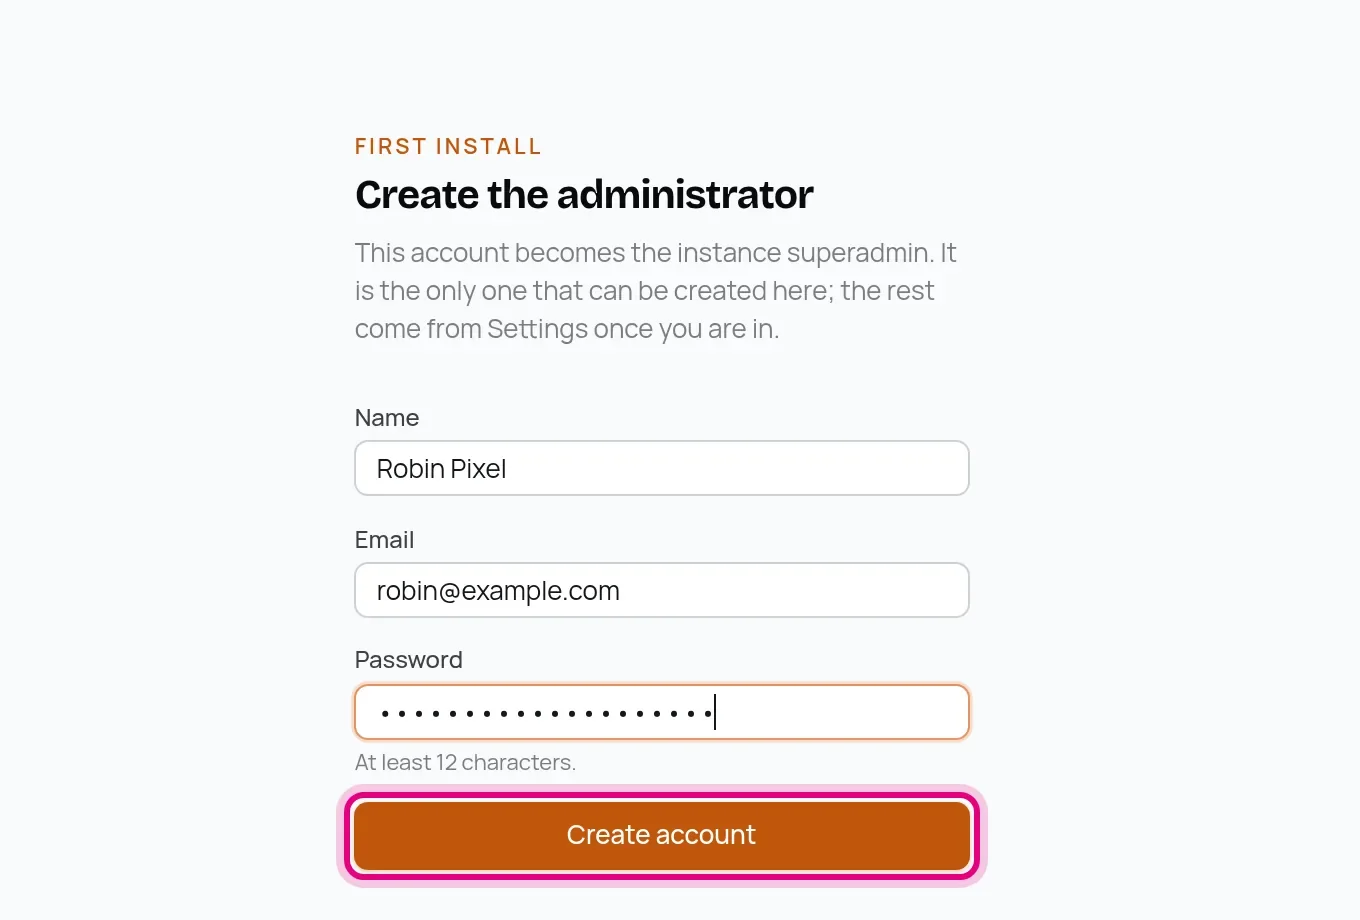
This first account is the superadmin: it may do everything. Once it exists, the assistant is gone, and further people only get an account when you invite them under Settings.
The assistant goes straight on to your first space. That is where the next part starts, so you can take a break here: your CMS is installed and running.