
Dein Portfolio mit Manablox · Teil 6 von 7 der Serie
Teil 6: Galerie, Kontakt und der letzte Schliff
Gestalte die übrigen Abschnitte, ergänze einen Inhaltstyp um ein Feld für einen Kontaktknopf, beschreib deine Seiten für Suchmaschinen und bau die Website für den Betrieb.

Quest-Ziele
- Galerie, Aufruf zum Handeln, Über-mich-Seite und Zitat gestalten
- Einem Blocktyp im Admin ein Feld hinzufügen
- Jede Seite für Suchmaschinen und Link-Vorschauen beschreiben
- Unbekannte Adressen mit einer freundlichen 404-Seite beantworten
- Den Code prüfen und einen Produktions-Build erstellen
Startseite und Projekte sind fertig. Vier Blocktypen sehen noch schlicht aus: die Galerie, der Aufruf zum Handeln, Bild mit Text und das Zitat. Danach kommt die Kontaktseite, und dann alles, was eine Website braucht, bevor sie online geht.
Die Galerie
Die Galerie nutzt denselben Grid-Trick wie die Karten: so viele Spalten, wie hineinpassen.
---
import { fieldAttribute } from '@manablox/live-preview';
import { assetUrl } from '@manablox/public-sdk';
import { assets, text } from '../../lib/fields';

interface Props {
  block: Record<string, unknown>;
  path: (string | number)[];
}

const { block, path } = Astro.props;
const headline = text(block.headline);
const images = assets(block.images);
---

<section class="block block-gallery" {...fieldAttribute(path)}>
  {headline && <h2 {...fieldAttribute([...path, 'headline'])}>{headline}</h2>}
  <div class="images" {...fieldAttribute([...path, 'images'])}>
    {
      images.map((image) => (
        <img
          class="rounded"
          src={assetUrl(image, { preset: 'card' })}
          alt={image.alt ?? ''}
          width={image.width ?? undefined}
          height={image.height ?? undefined}
          loading="lazy"
        />
      ))
    }
  </div>
</section>

<style>
  .images {
    display: grid;
    grid-template-columns: repeat(auto-fill, minmax(14rem, 1fr));
    gap: 1rem;
  }
</style>
Der Aufruf zum Handeln
Der Aufruf zum Handeln am Ende der Startseite wird zu einem dunklen Kasten mit dem pinken Knopf in der Mitte:
---
import { fieldAttribute } from '@manablox/live-preview';
import { link, text } from '../../lib/fields';

interface Props {
  block: Record<string, unknown>;
  path: (string | number)[];
}

const { block, path } = Astro.props;
const headline = text(block.headline);
const textValue = text(block.text);
const button = link(block.button);
---

<section class="block block-call-to-action" {...fieldAttribute(path)}>
  {headline && <h2 {...fieldAttribute([...path, 'headline'])}>{headline}</h2>}
  {textValue && <p class="lead" {...fieldAttribute([...path, 'text'])}>{textValue}</p>}
  {
    button && (
      <p {...fieldAttribute([...path, 'button'])}>
        <a class="button" href={button.href}>{button.label}</a>
      </p>
    )
  }
</section>

<style>
  .block-call-to-action {
    border-radius: var(--radius);
    background: var(--ink);
    color: white;
    padding: 3rem 2rem;
    text-align: center;
  }
  .lead {
    color: #cfc8e6;
  }
</style>
Die Über-mich-Seite
Die Über-mich-Seite verwendet zwei weitere Blöcke. Image and text setzt das Bild neben den Text, aber nur, wenn der Bildschirm breit genug ist. Das macht die Regel @media (min-width: 48rem): Unter 48rem, etwa 768 Pixeln, stehen Bild und Text untereinander.
---
import { fieldAttribute } from '@manablox/live-preview';
import { assetUrl } from '@manablox/public-sdk';
import { assets, html, link, text } from '../../lib/fields';

interface Props {
  block: Record<string, unknown>;
  path: (string | number)[];
}

const { block, path } = Astro.props;
const headline = text(block.headline);
const body = html(block.body);
const image = assets(block.image)[0];
const button = link(block.button);
---

<section class="block block-media-text" {...fieldAttribute(path)}>
  {
    image && (
      <img
        class="rounded"
        src={assetUrl(image, { preset: 'card' })}
        alt={image.alt ?? ''}
        width={image.width ?? undefined}
        height={image.height ?? undefined}
        loading="lazy"
        {...fieldAttribute([...path, 'image'])}
      />
    )
  }
  <div>
    {headline && <h2 {...fieldAttribute([...path, 'headline'])}>{headline}</h2>}
    {body && <div {...fieldAttribute([...path, 'body'])} set:html={body} />}
    {
      button && (
        <p {...fieldAttribute([...path, 'button'])}>
          <a class="button" href={button.href}>{button.label}</a>
        </p>
      )
    }
  </div>
</section>

<style>
  .block-media-text {
    display: grid;
    gap: 2rem;
    align-items: center;
  }
  /* Side by side once there is room for both. */
  @media (min-width: 48rem) {
    .block-media-text {
      grid-template-columns: 1fr 1.5fr;
    }
  }
</style>
Das Quote wird zu einer <figure> mit einem <blockquote> und einer Bildunterschrift dafür, wer es gesagt hat, den HTML-Elementen, die für Zitate gemacht sind:
---
import { fieldAttribute } from '@manablox/live-preview';
import { text } from '../../lib/fields';

interface Props {
  block: Record<string, unknown>;
  path: (string | number)[];
}

const { block, path } = Astro.props;
const quote = text(block.quote);
const author = text(block.author);
const role = text(block.role);
---

<figure class="block block-quote" {...fieldAttribute(path)}>
  {quote && <blockquote {...fieldAttribute([...path, 'quote'])}>“{quote}”</blockquote>}
  <figcaption>
    {author && <strong {...fieldAttribute([...path, 'author'])}>{author}</strong>}
    {role && <span {...fieldAttribute([...path, 'role'])}>, {role}</span>}
  </figcaption>
</figure>

<style>
  .block-quote {
    margin-inline: 0;
    border-left: 6px solid var(--pink);
    padding-left: 1.5rem;
  }
  blockquote {
    margin: 0 0 0.75rem;
    font-size: 1.75rem;
    line-height: 1.3;
  }
  figcaption {
    color: var(--muted);
  }
</style>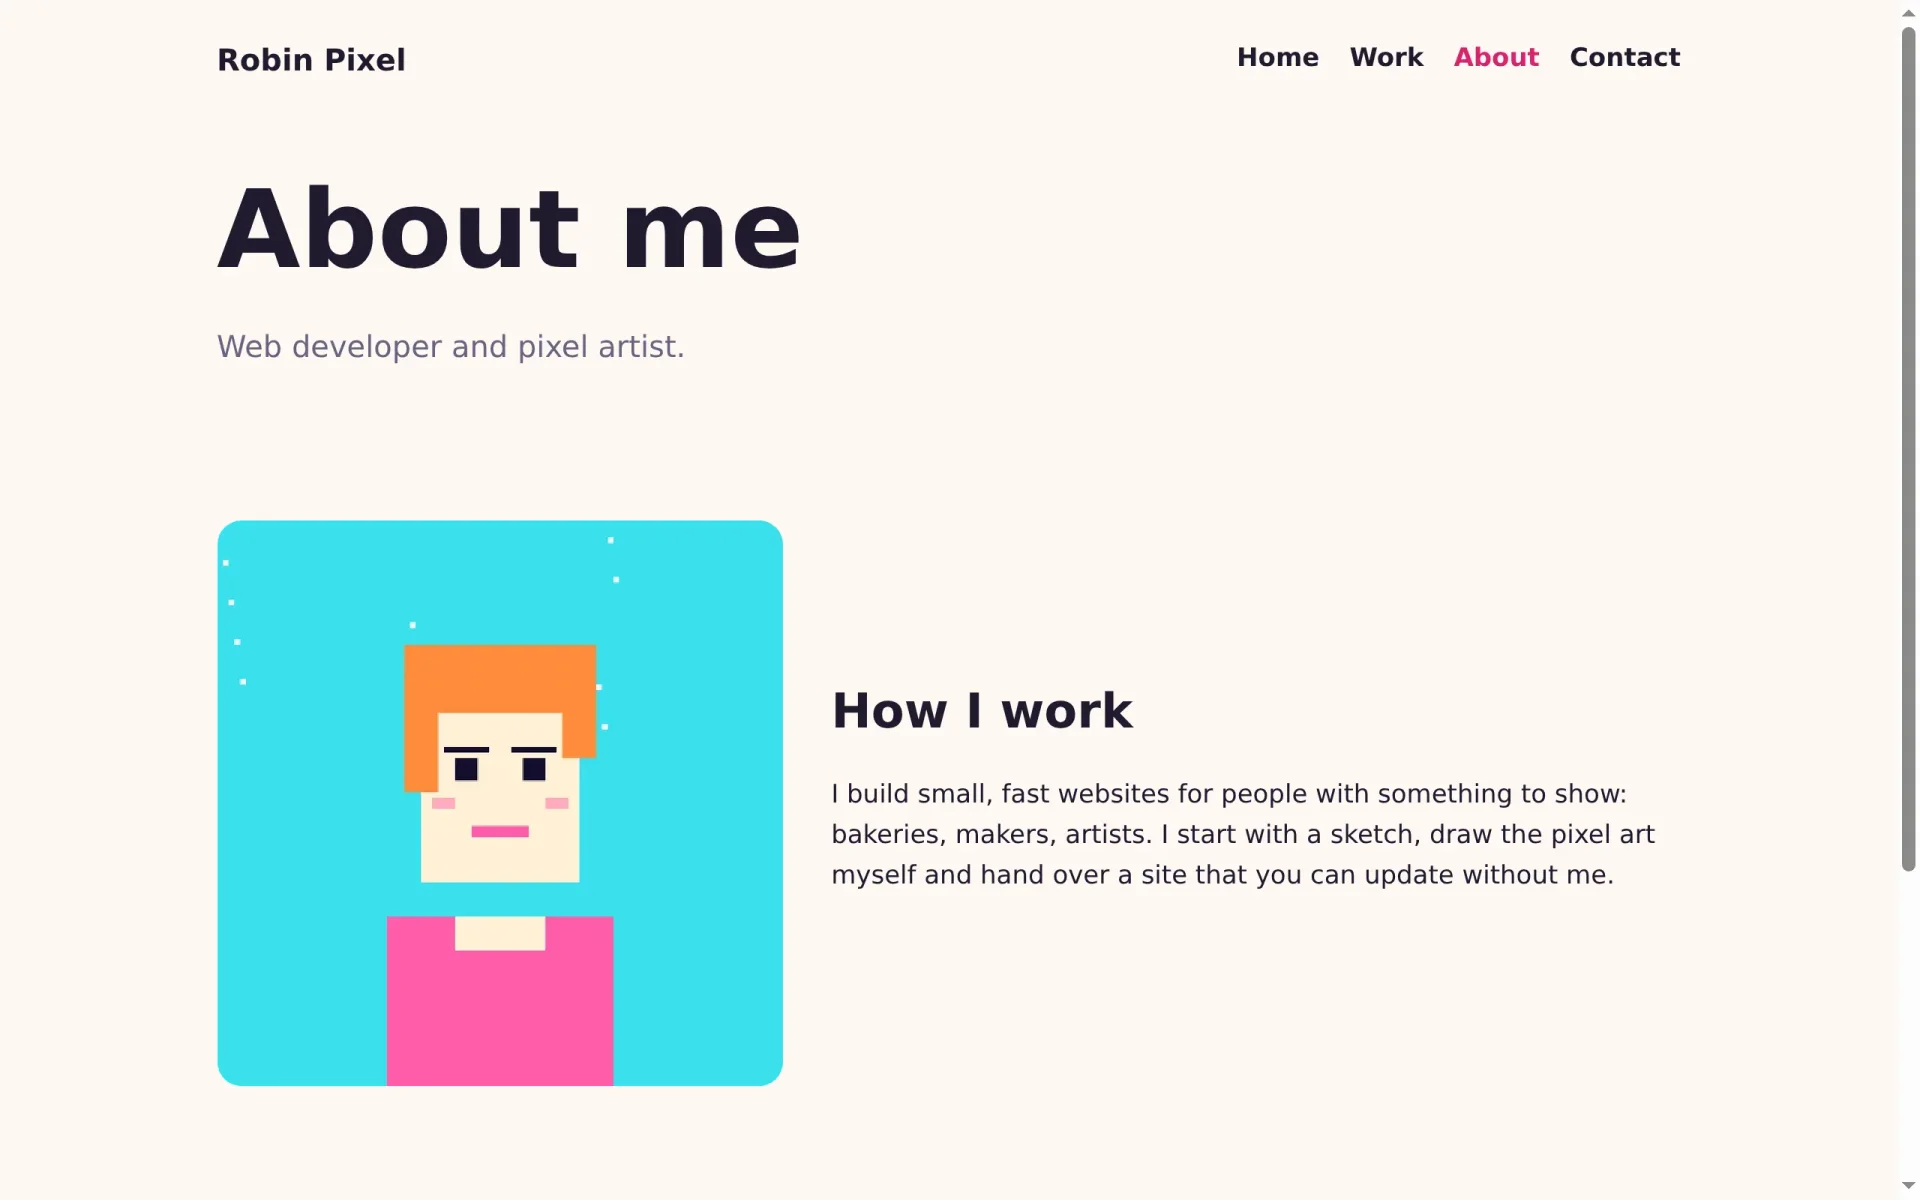
Ein Kontaktknopf
Das Kontaktformular der gestalteten Website funktioniert in deinem eigenen Frontend nicht. Es schickt seine Nachrichten über den Site-Prozess, der einen geheimen Schlüssel hat, und die öffentliche API liest nur. Ein einfacher Knopf, der eine E-Mail an dich öffnet, erledigt die Aufgabe ganz ohne Server-Code. Aber woher kommt die E-Mail-Adresse?
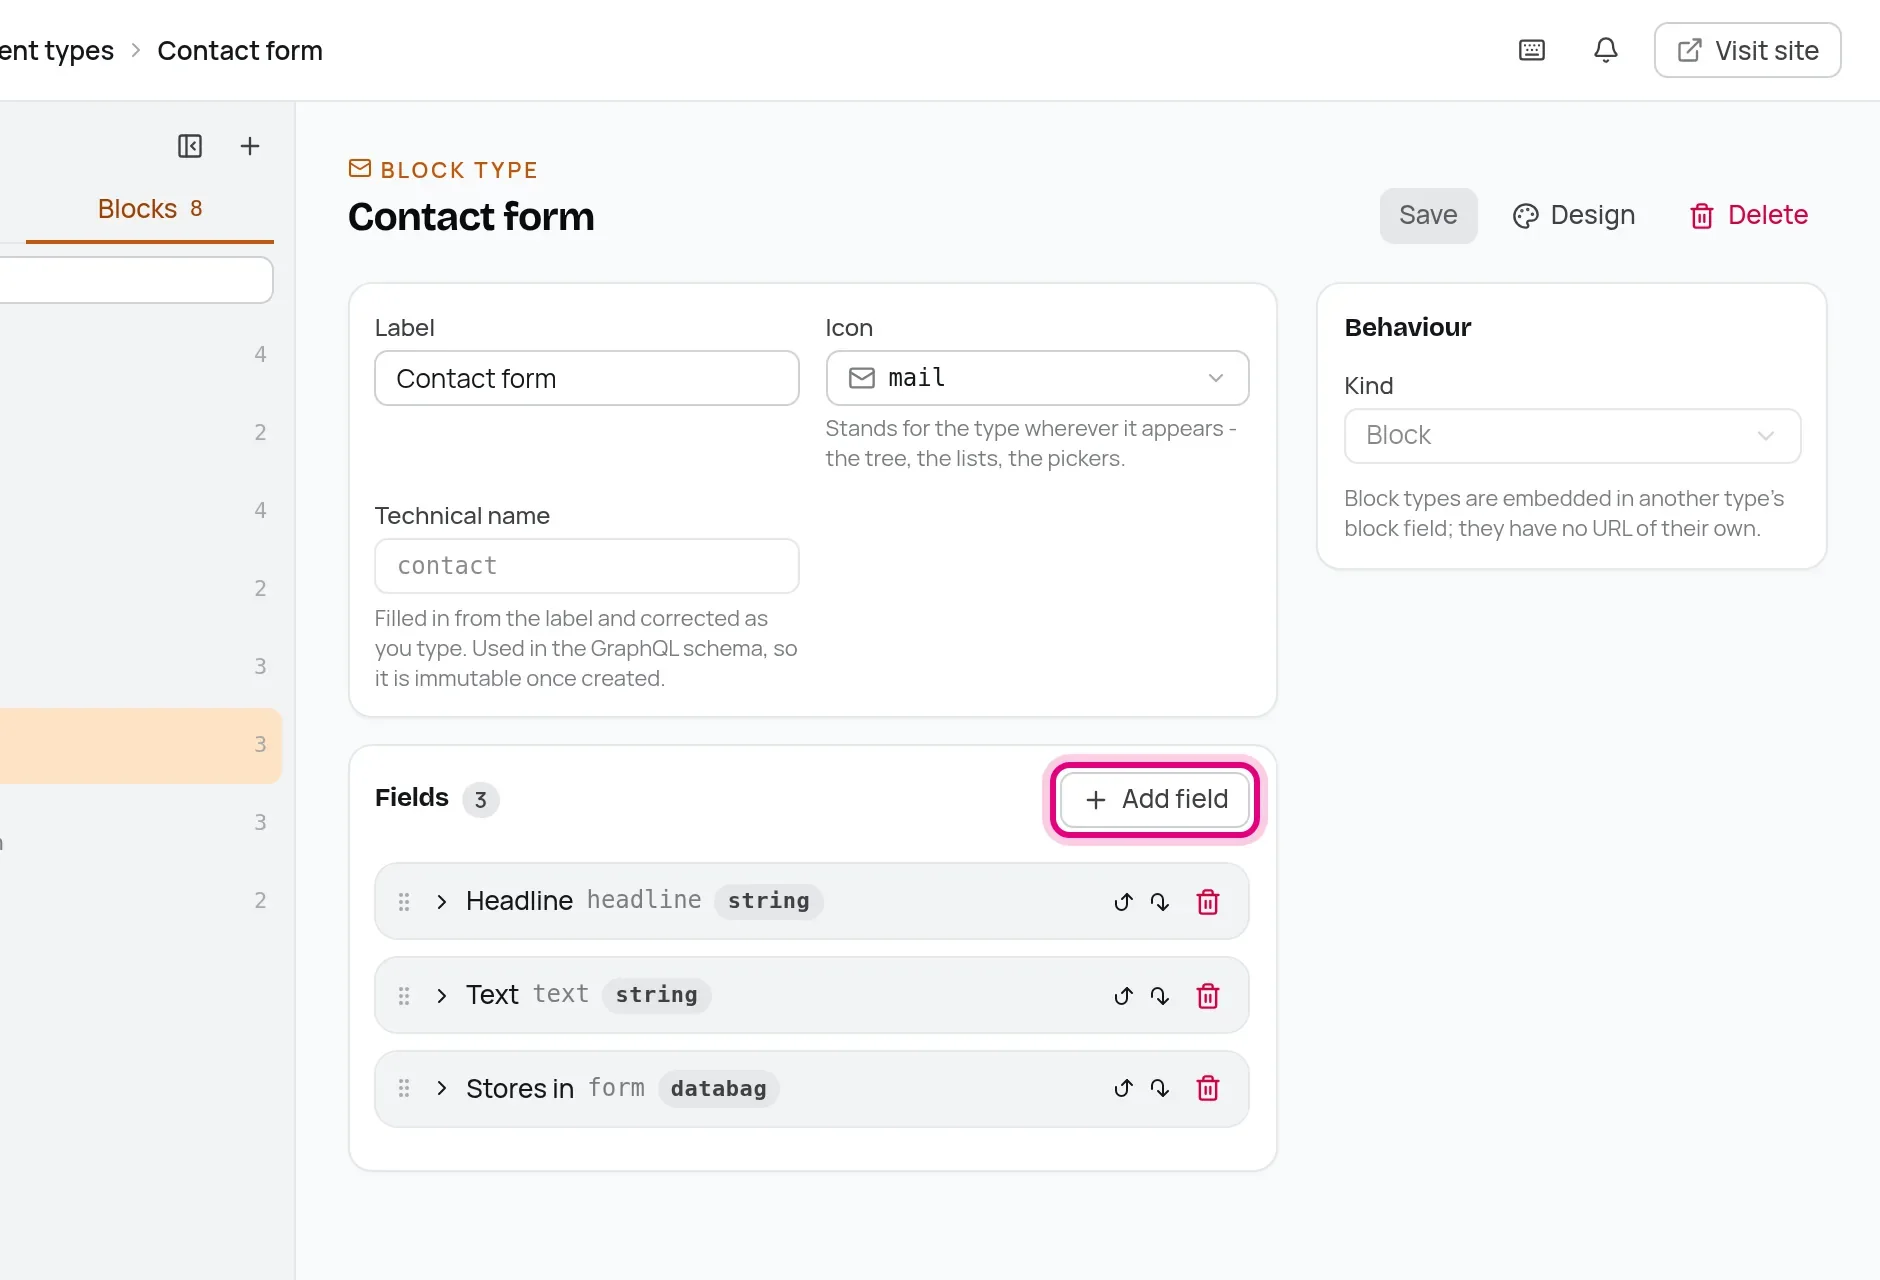
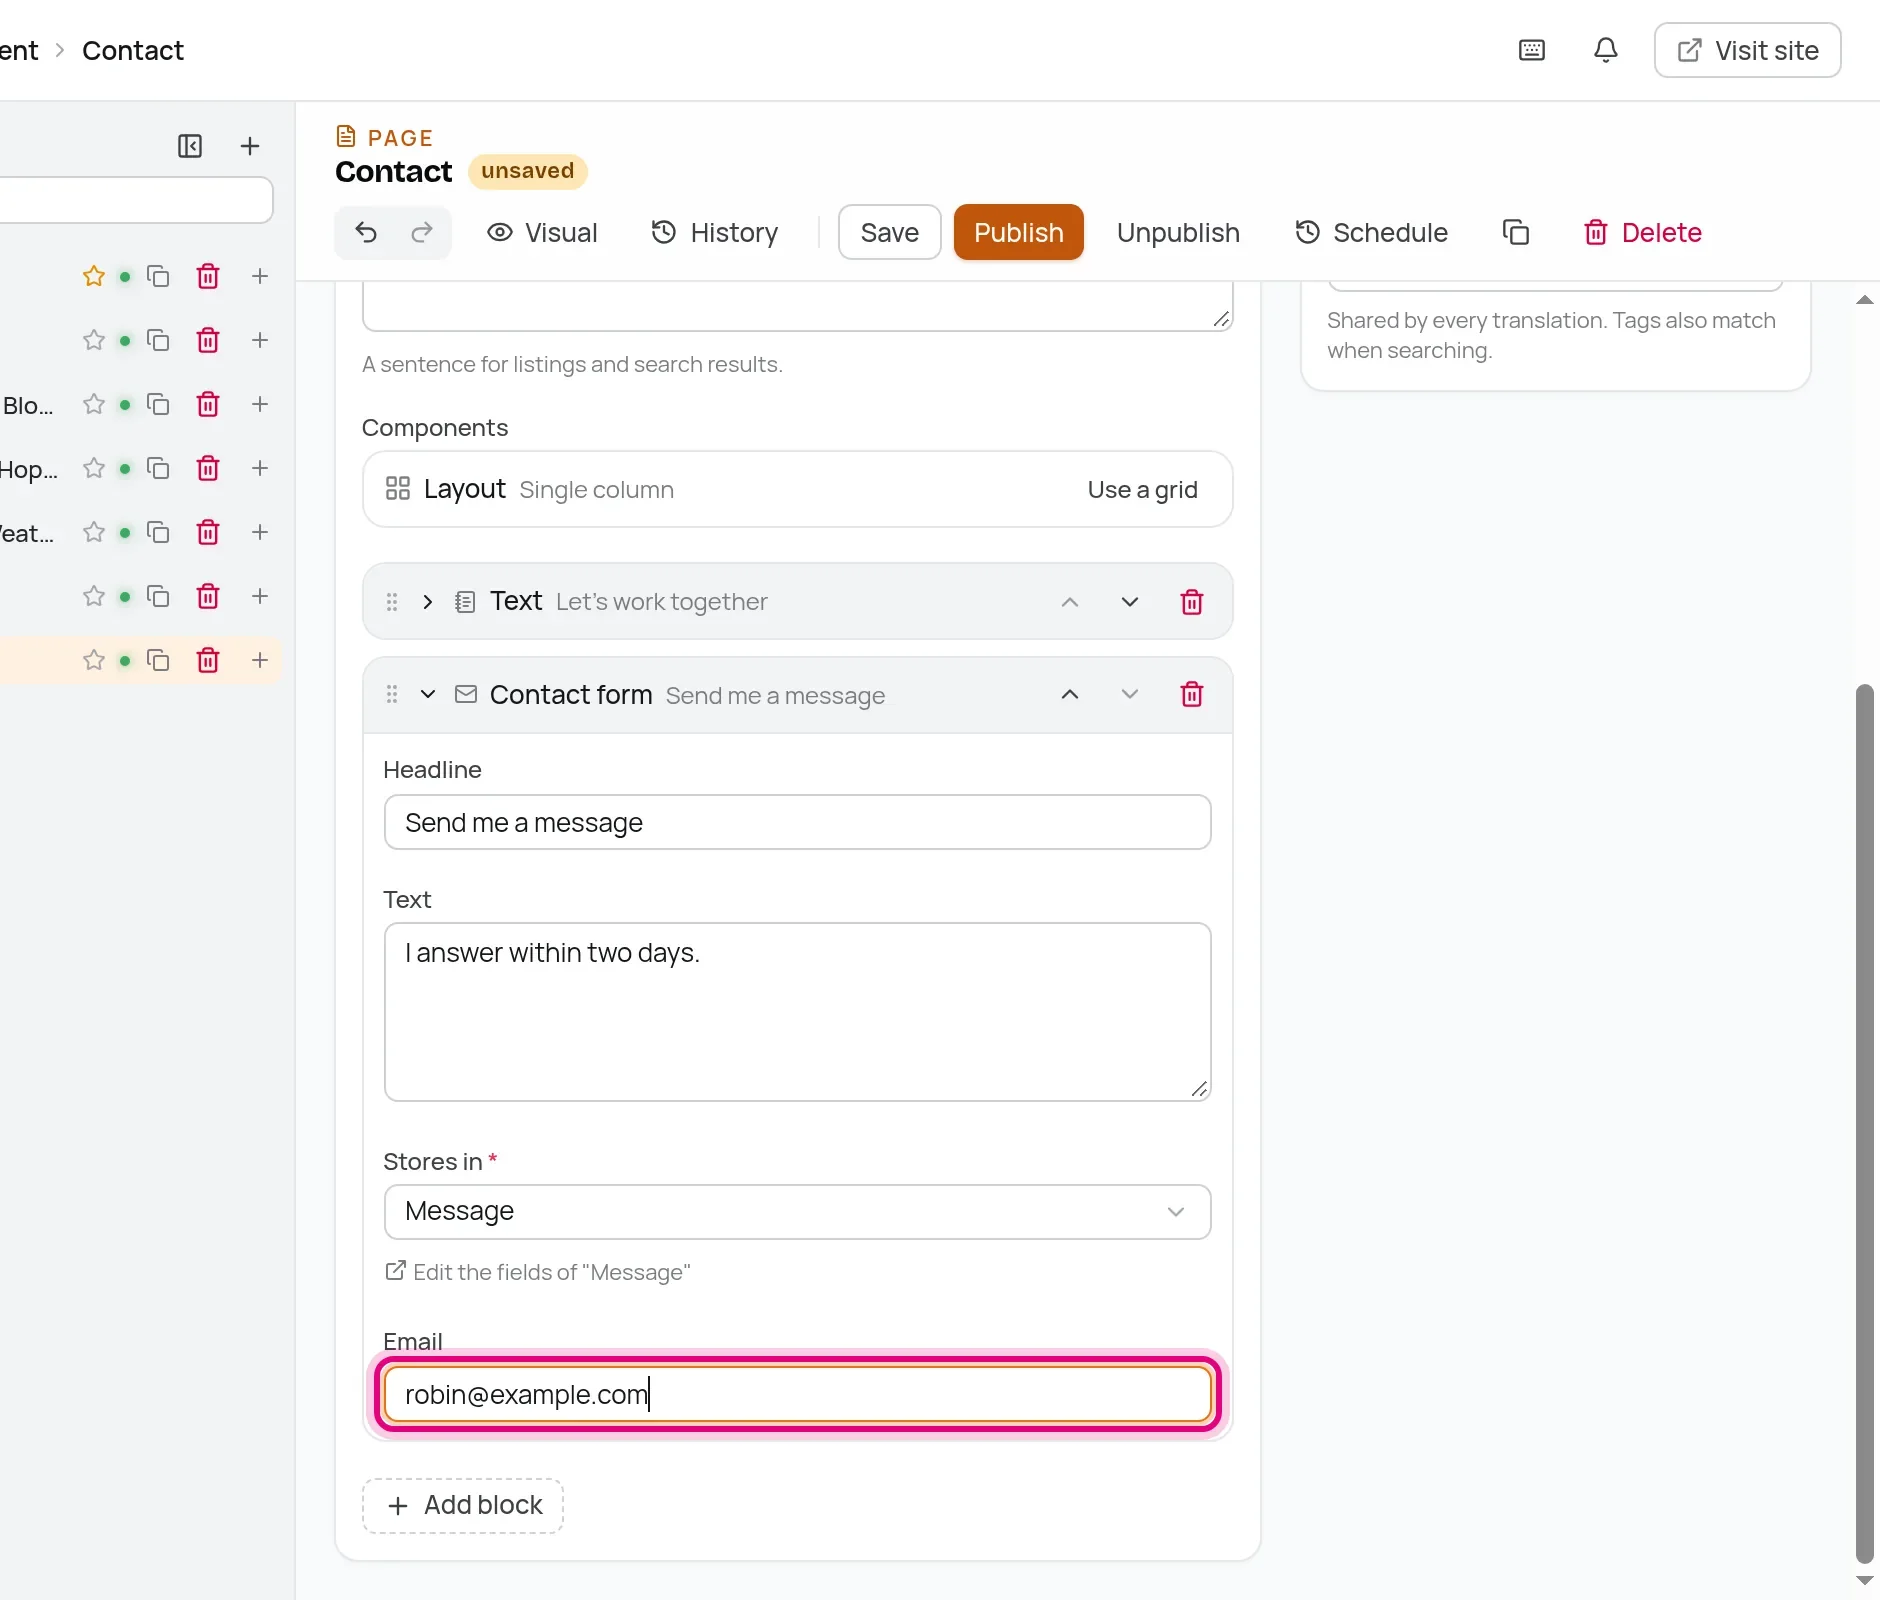
Natürlich aus dem CMS. Ergänze den Block Contact form um ein Feld: Öffne im Admin Content types, wechsle zu Blocks, öffne Contact form und klick auf Add field.
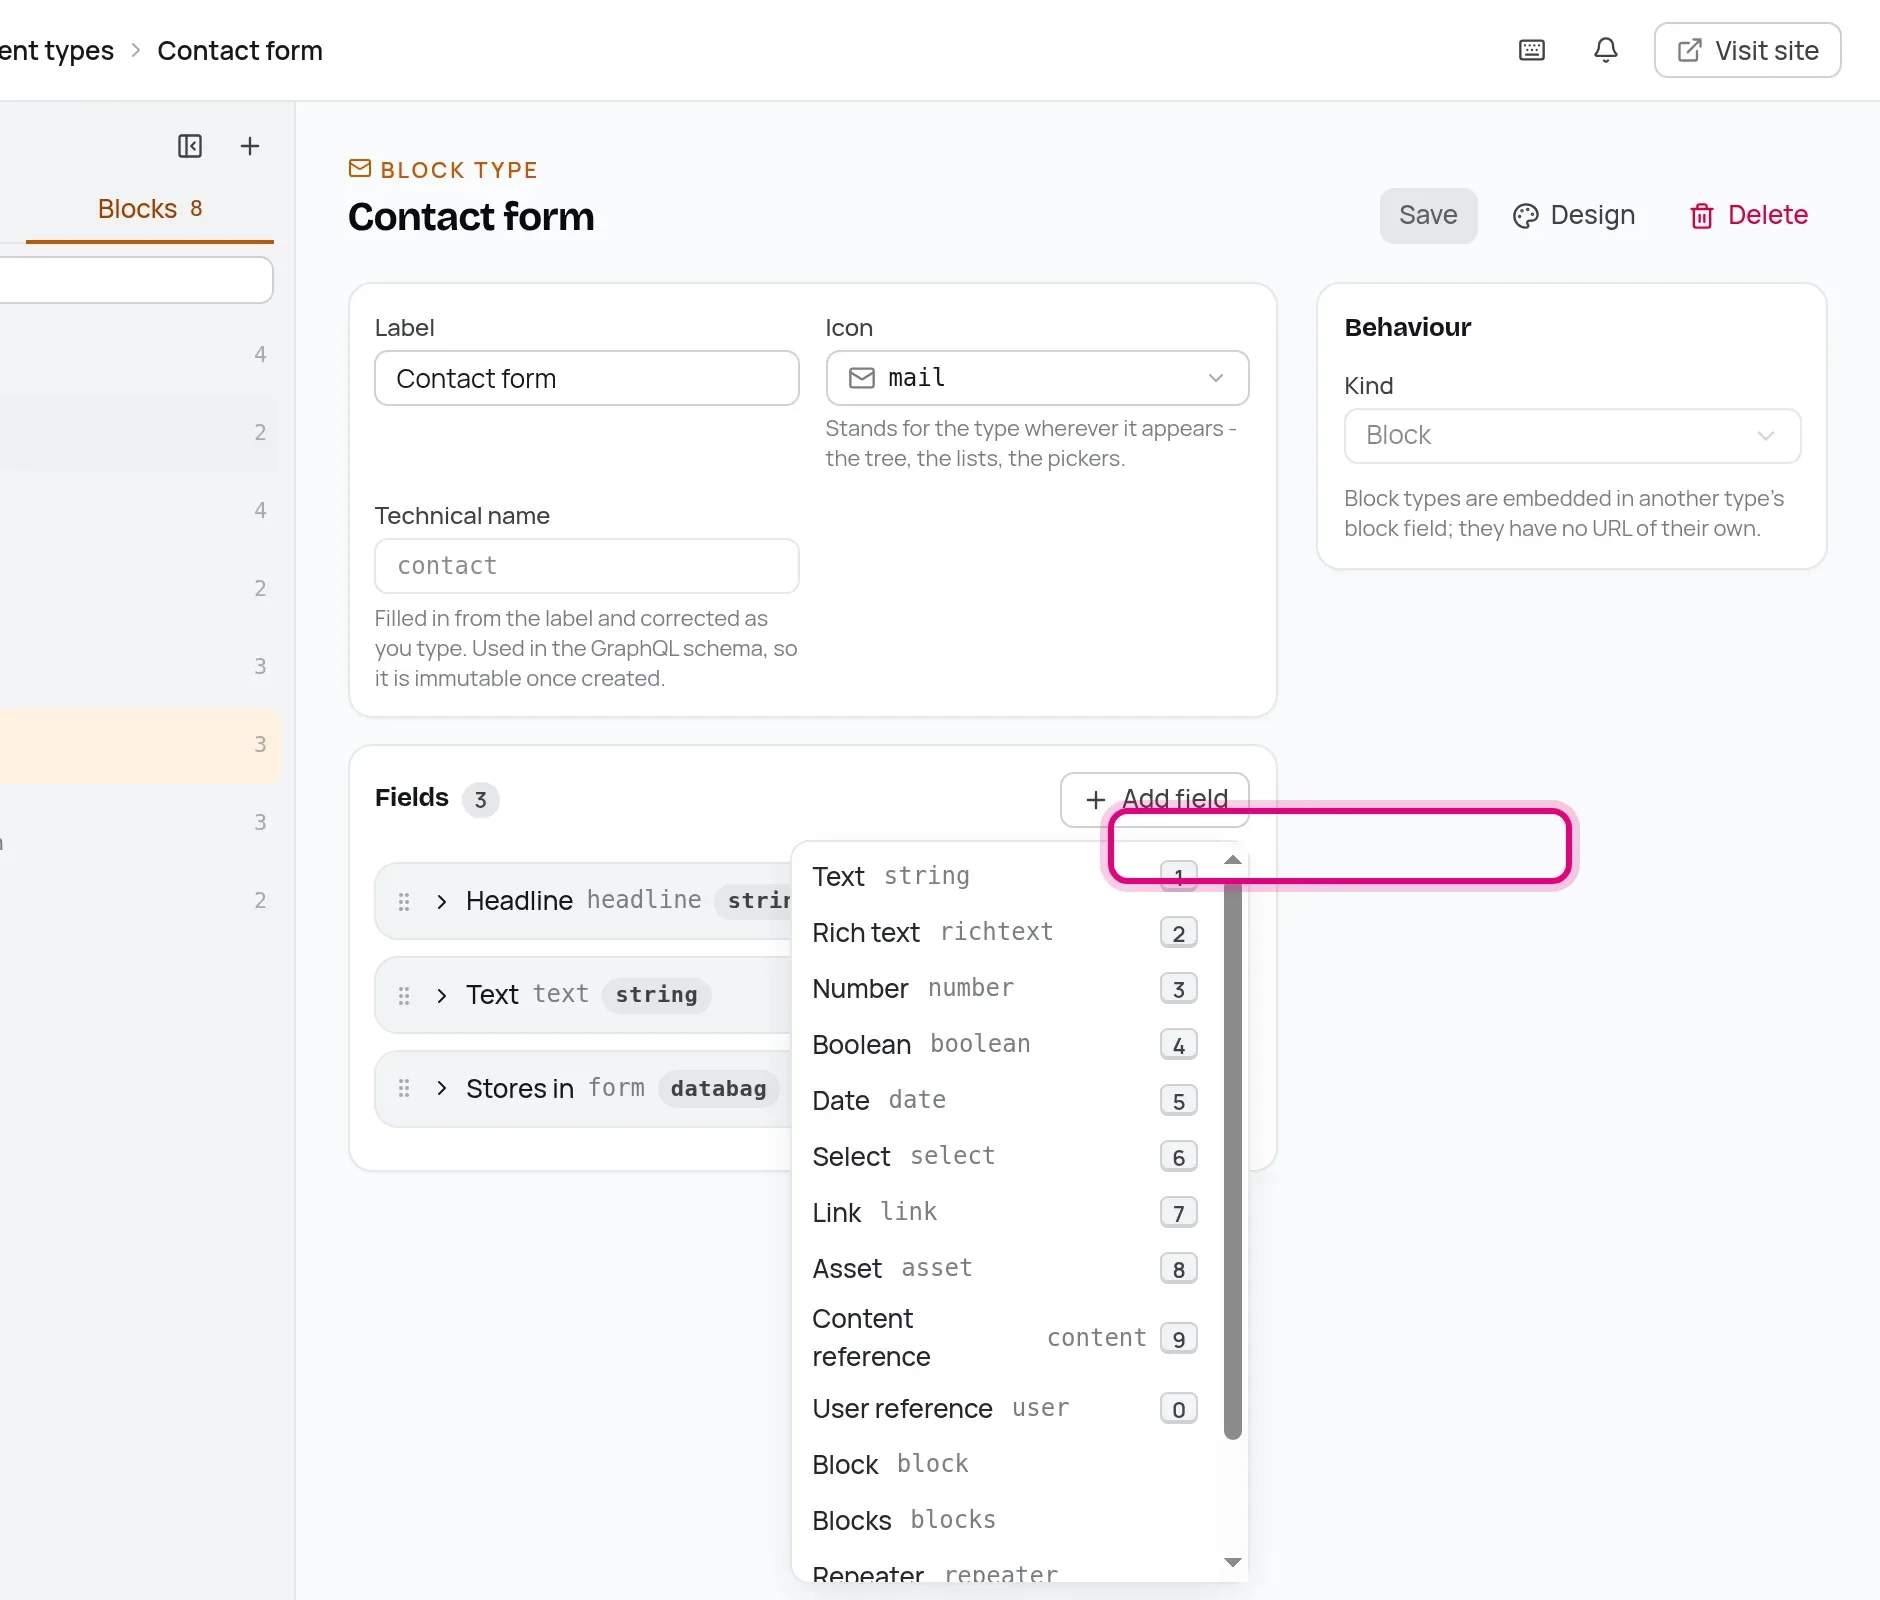
Eine E-Mail-Adresse ist Text, wähl also Text.
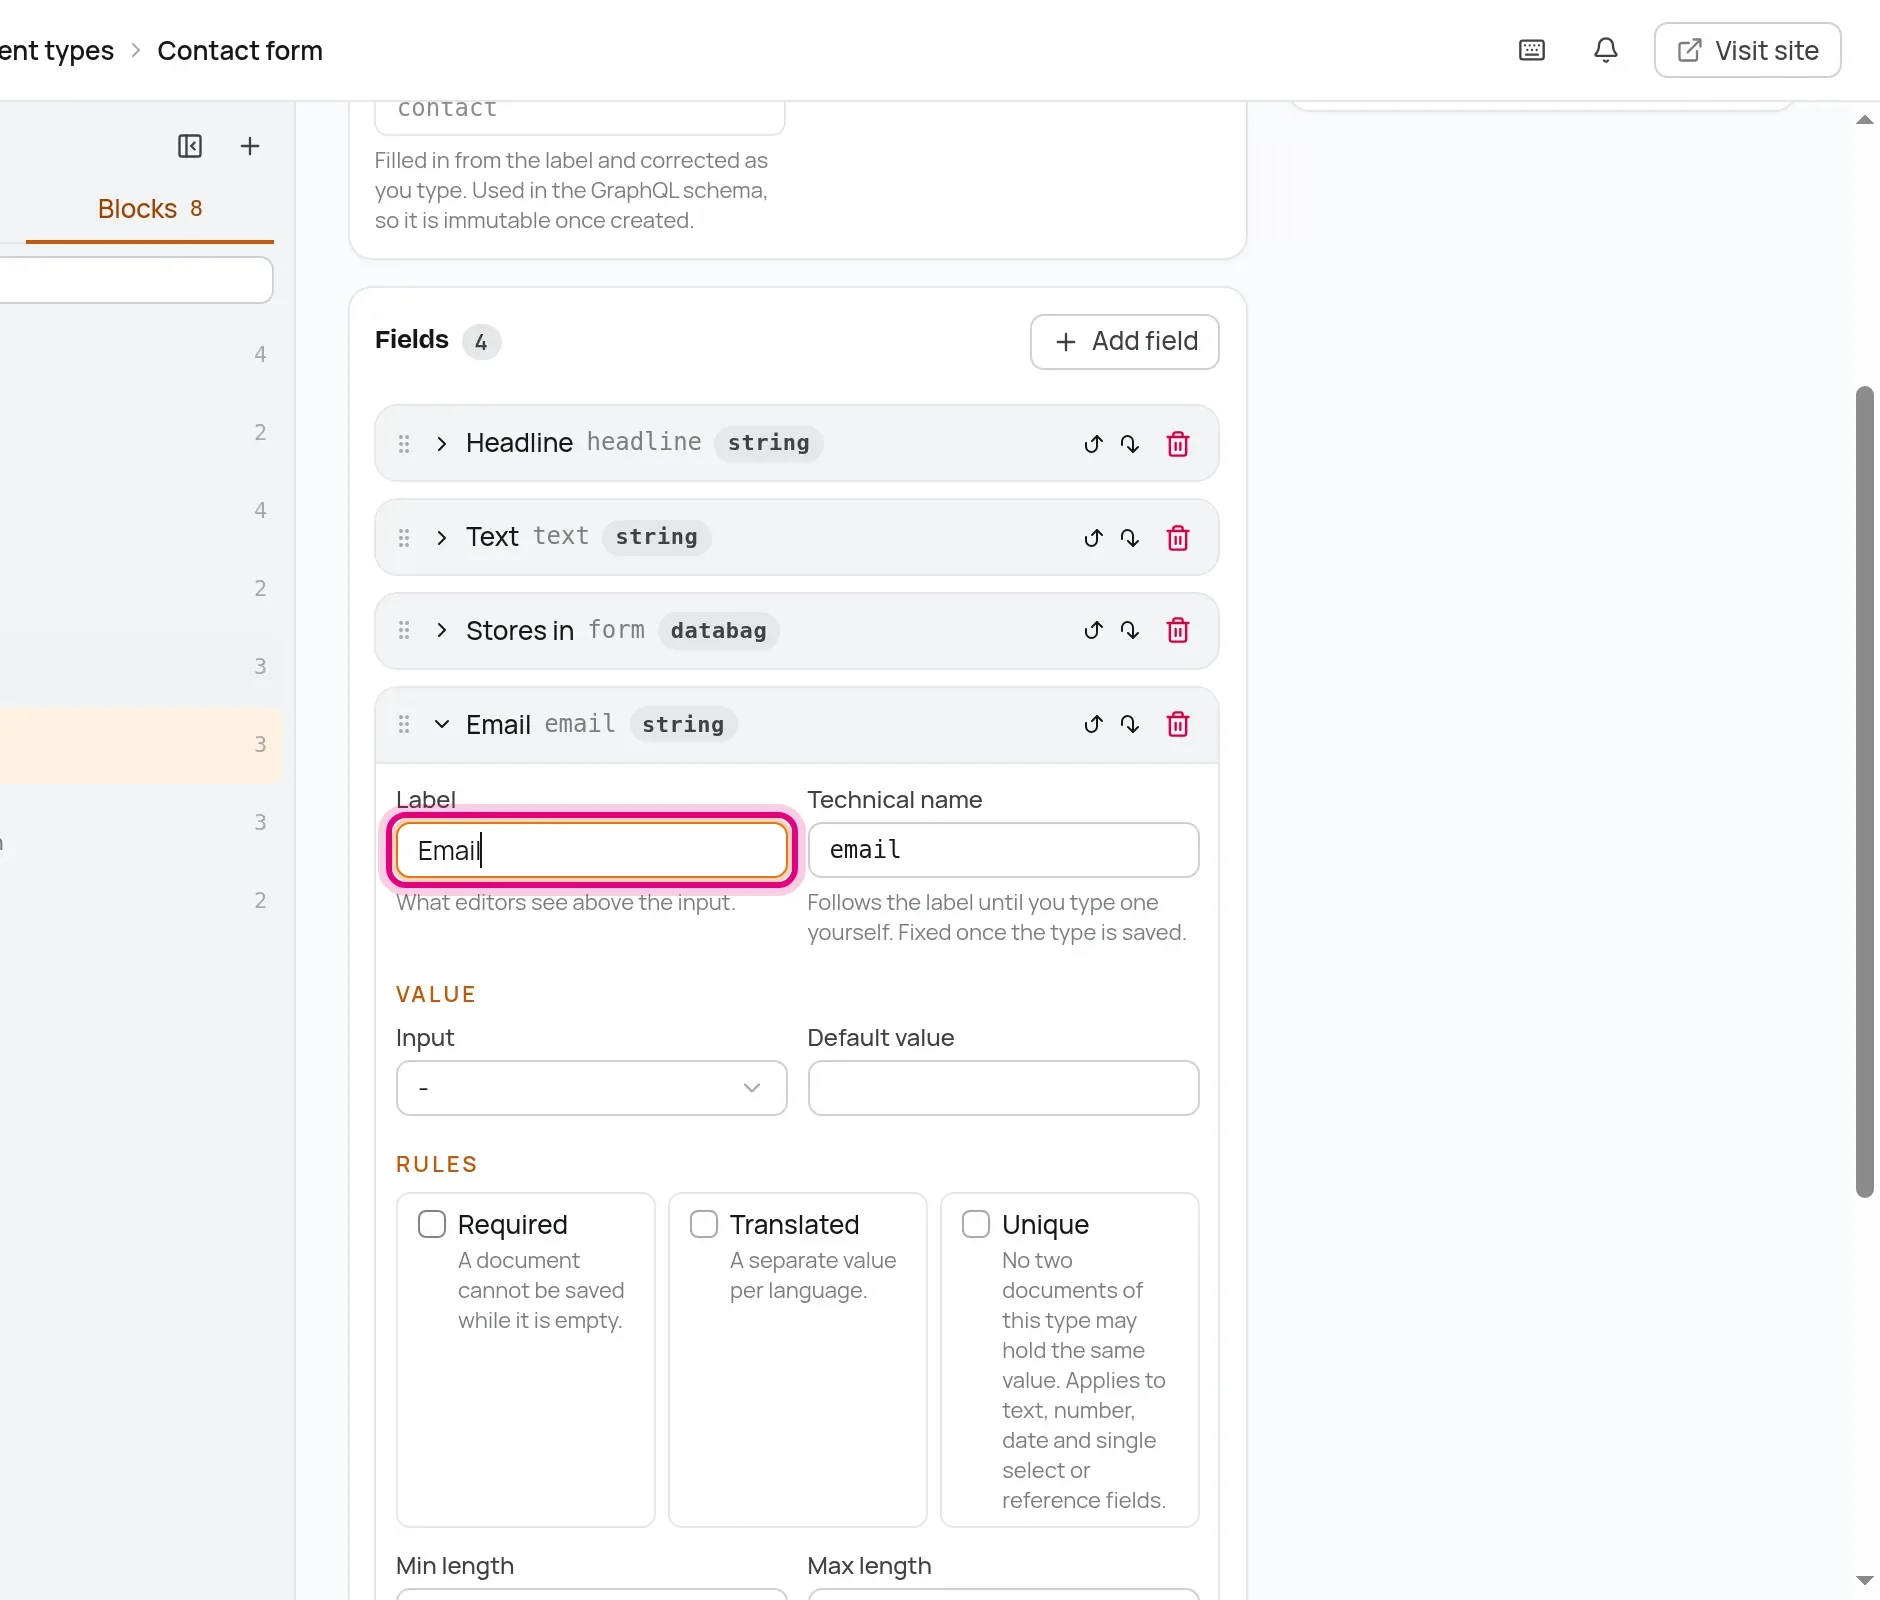
Setz das Label auf Email. Der technische Name wird zu email, und unter diesem Namen liest dein Code das Feld. Klick auf Save.
Öffne jetzt die Seite Contact, klapp ihren Block Contact form auf, und da ist das neue Feld. Trag deine Adresse ein und veröffentliche.
In der Komponente geht das Formularfeld und der Knopf kommt. Links mit mailto: öffnen das E-Mail-Programm der Besucher, mit deiner Adresse schon eingetragen.
---
import { fieldAttribute } from '@manablox/live-preview';
import { text } from '../../lib/fields';

interface Props {
  block: Record<string, unknown>;
  path: (string | number)[];
}

const { block, path } = Astro.props;
const headline = text(block.headline);
const textValue = text(block.text);
const email = text(block.email);
---

<section class="block block-contact" {...fieldAttribute(path)}>
  {headline && <h2 {...fieldAttribute([...path, 'headline'])}>{headline}</h2>}
  {textValue && <p class="lead" {...fieldAttribute([...path, 'text'])}>{textValue}</p>}
  {
    email && (
      <p {...fieldAttribute([...path, 'email'])}>
        <a class="button" href={`mailto:${email}`}>Write me an email</a>
      </p>
    )
  }
</section>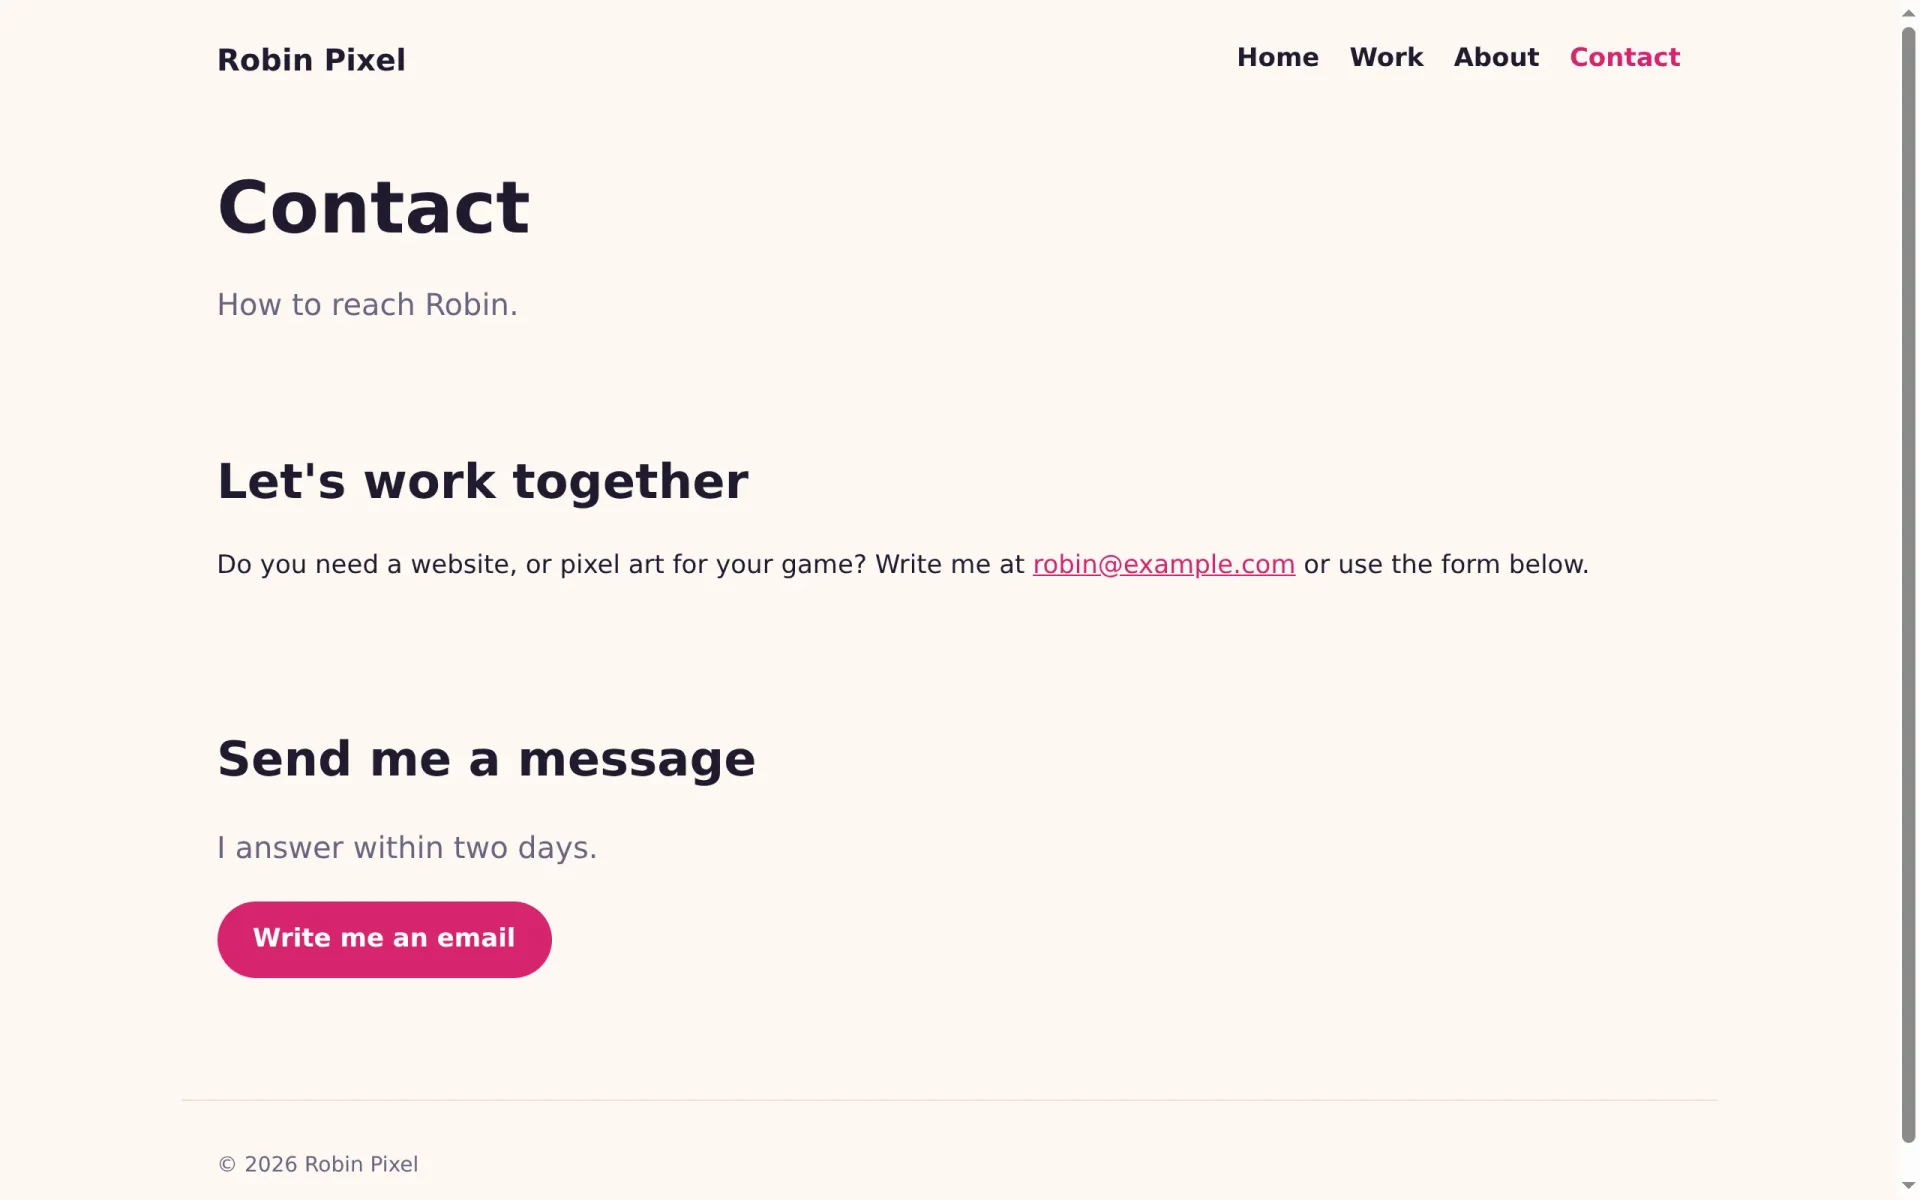
Für Suchmaschinen und Link-Vorschauen
Wenn jemand einen Link auf dein Portfolio teilt, zeigen Messenger und soziale Netzwerke eine Vorschau mit Titel, Beschreibung und Bild. Auch Suchmaschinen zeigen die Beschreibung unter dem Titel. All das lesen sie aus <meta>-Tags im <head> der Seite. Das Layout bekommt dafür zwei neue Props. Ersetze das interface Props und die Zeile danach in src/layouts/Site.astro:
interface Props {
  title: string;
  description?: string | null;
  image?: string | null;
  bare?: boolean;
}

const { title, description, image, bare = false } = Astro.props;
und füg die Tags direkt unter dem <title> ein:
<title>{title === siteName ? title : `${title} · ${siteName}`}</title>
    {description && <meta name="description" content={description} />}
    <meta property="og:title" content={title} />
    {description && <meta property="og:description" content={description} />}
    {image && <meta property="og:image" content={image} />}
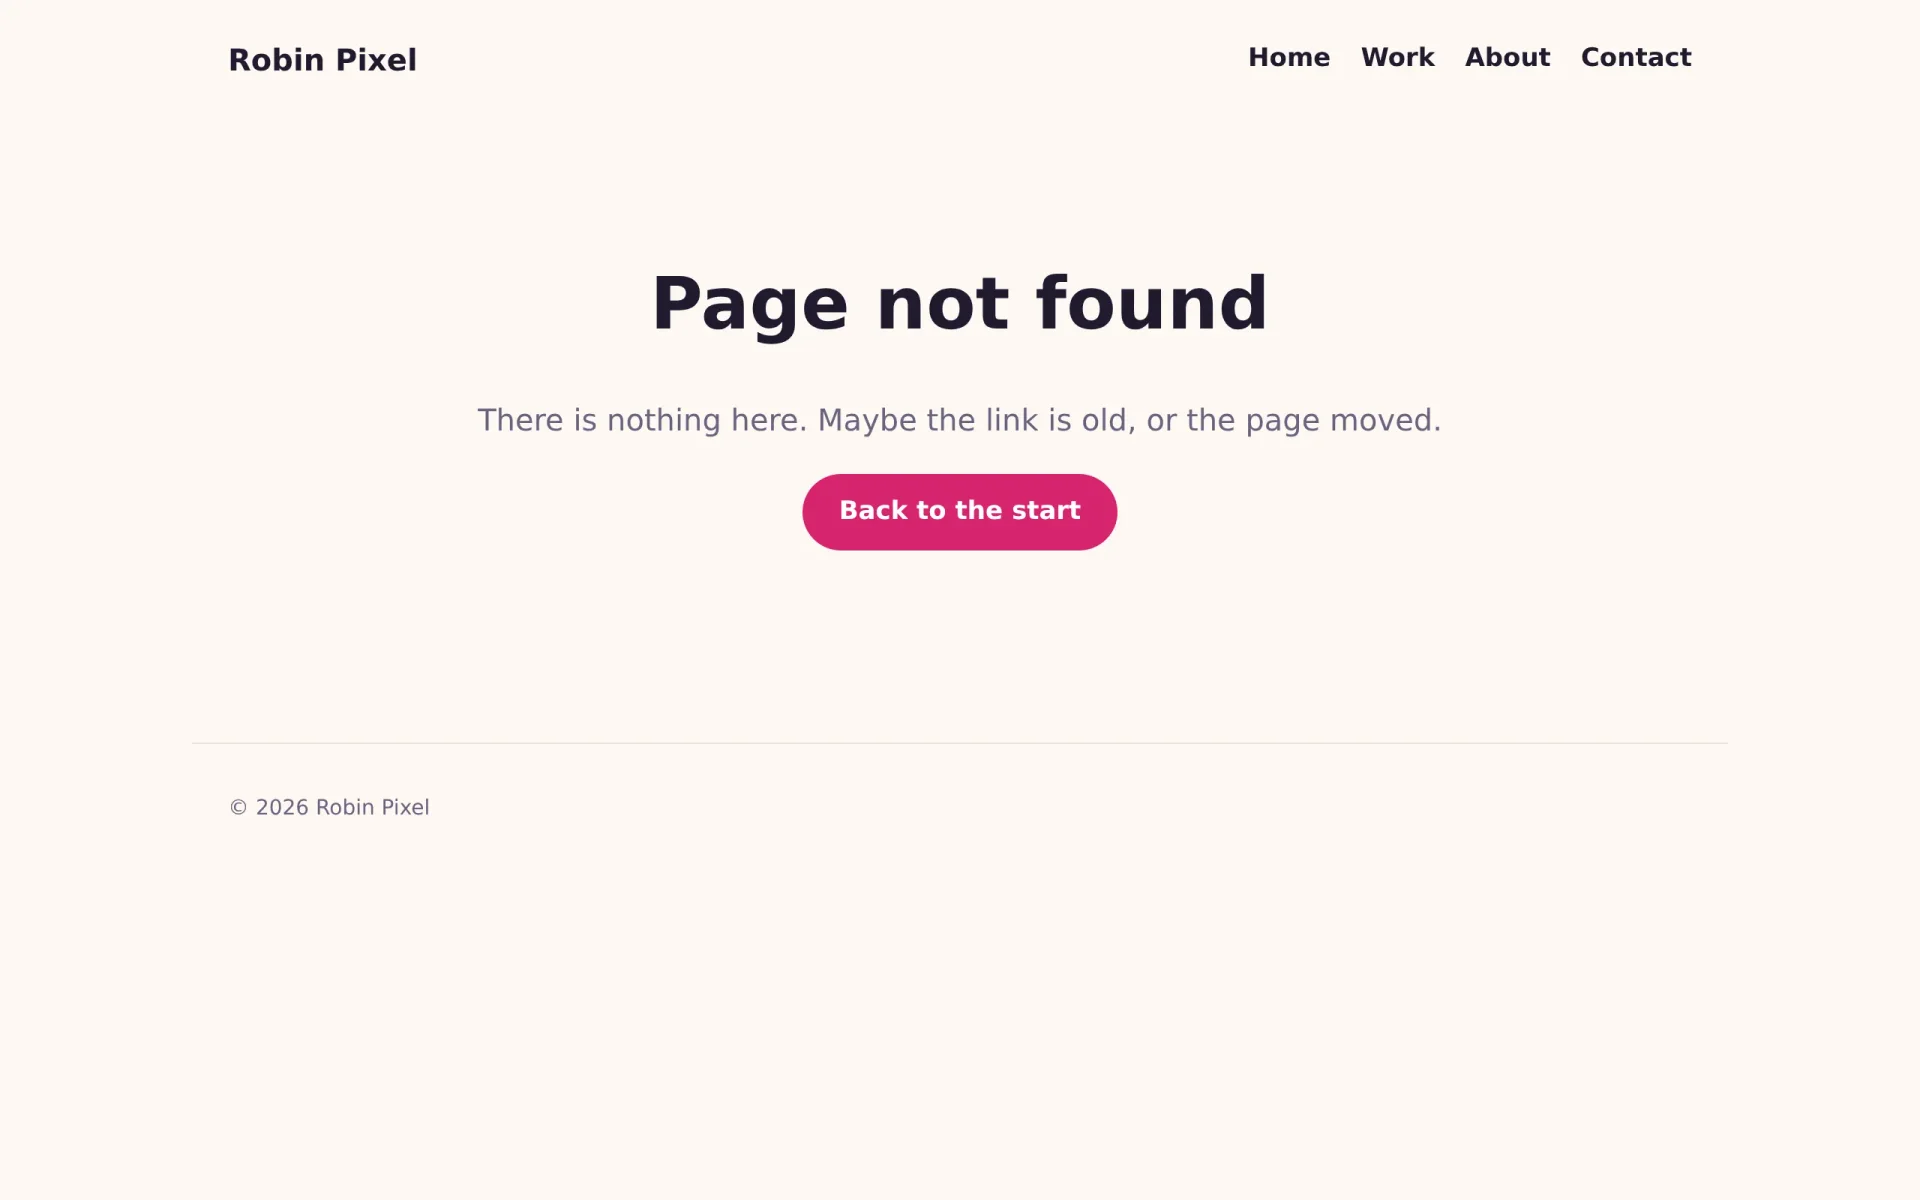
Die Seiten-Route füllt sie aus: Die Zusammenfassung wird zur Beschreibung, und das Titelbild eines Projekts wird zum Bild. Wo du schon in der Datei bist, bekommt sie auch eine echte 404-Seite. Bisher bekam eine unbekannte Adresse eine leere Antwort, jetzt bekommt sie dein Layout, eine kurze Nachricht und einen Weg zurück.
---
import { assetUrl, blocksOf, gridOf, ManabloxError } from '@manablox/public-sdk';
import Blocks from '../components/Blocks.astro';
import { contentRenderers } from '../components/content/index';
import Site from '../layouts/Site.astro';
import { assets, text } from '../lib/fields';
import { manablox } from '../lib/manablox';

const client = manablox();
const path = Astro.url.pathname;

let page: Record<string, unknown> | null = null;
let failure: string | null = null;

try {
  // `expand` inlines the relations the components show, which would otherwise be ids.
  page = await client.byPermalink(path, {
    expand: ['cover', 'gallery', 'image', 'images', 'projects'],
  });
} catch (error) {
  failure = error instanceof ManabloxError ? error.message : String(error);
}

const notFound = !failure && !page;
const fields = (page?.fields ?? {}) as Record<string, unknown>;
const blocks = blocksOf(fields.components) as Record<string, unknown>[];
const grid = gridOf(fields.components);
const Content = page ? contentRenderers[String(page.type)] : undefined;

// What search engines and link previews show: the summary, and the cover if there is one.
const description = text(fields.summary);
const cover = assets(fields.cover)[0];
const image = cover ? assetUrl(cover, { preset: 'hero' }) : null;

Astro.response.status = failure ? 503 : notFound ? 404 : 200;
Astro.response.headers.set(
  'cache-control',
  failure ? 'no-store' : 'public, max-age=0, s-maxage=300',
);
---

<Site
  title={failure ? 'Something went wrong' : notFound ? 'Page not found' : String(page?.title ?? '')}
  description={description}
  image={image}
>
  {
    notFound ? (
      <div class="state">
        <h1>Page not found</h1>
        <p class="lead">There is nothing here. Maybe the link is old, or the page moved.</p>
        <a class="button" href="/">Back to the start</a>
      </div>
    ) : failure ? (
      <div class="state">
        <h1>Something went wrong</h1>
        <p>{failure}</p>
      </div>
    ) : Content ? (
      <Content node={{ title: String(page?.title ?? ''), fields }} />
    ) : (
      <article>
        <h1>{String(page?.title || 'Untitled')}</h1>
        <Blocks blocks={blocks} path={['components']} grid={grid} />
      </article>
    )
  }
</Site>

<style>
  .state {
    padding: 4rem 0;
    text-align: center;
  }
  .state h1 {
    font-size: 3rem;
  }
</style>
Astro.response.status sagt Browsern und Suchmaschinen weiterhin, dass es die Seite nicht gibt, so landet die 404-Seite nie in Suchergebnissen. Prüf die Tags mit curl, das eine Seite im Terminal abruft, oder mit Seitenquelltext anzeigen in deinem Browser:
$ curl -s http://localhost:3005/work/pixel-weather | grep '<meta'<meta charset="utf-8"><meta name="viewport" content="width=device-width, initial-scale=1"><meta name="description" content="A tiny weather app that shows the forecast as pixel art landscapes."><meta property="og:title" content="Pixel Weather"><meta property="og:description" content="A tiny weather app that shows the forecast as pixel art landscapes."><meta property="og:image" content="http://localhost:3100/media/29d8b48b-b908-49b5-9572-d477c8a05115/hero.webp?s=wY1eoDbUJRYSujfWdOJ0ssPEJUGe4gL6&v=mw0c4cpy">
Auf dem Handy prüfen
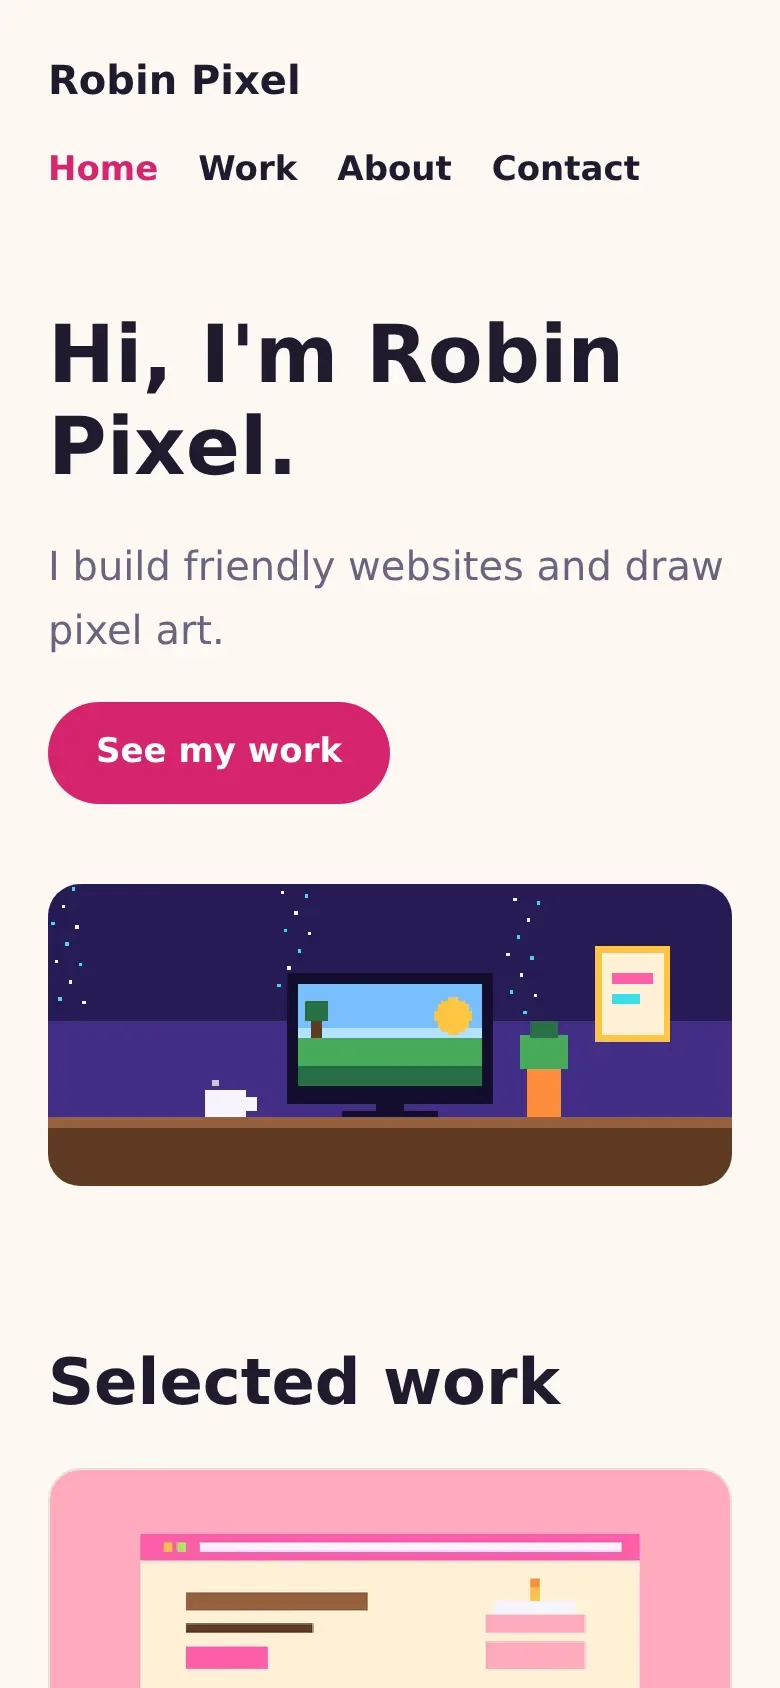
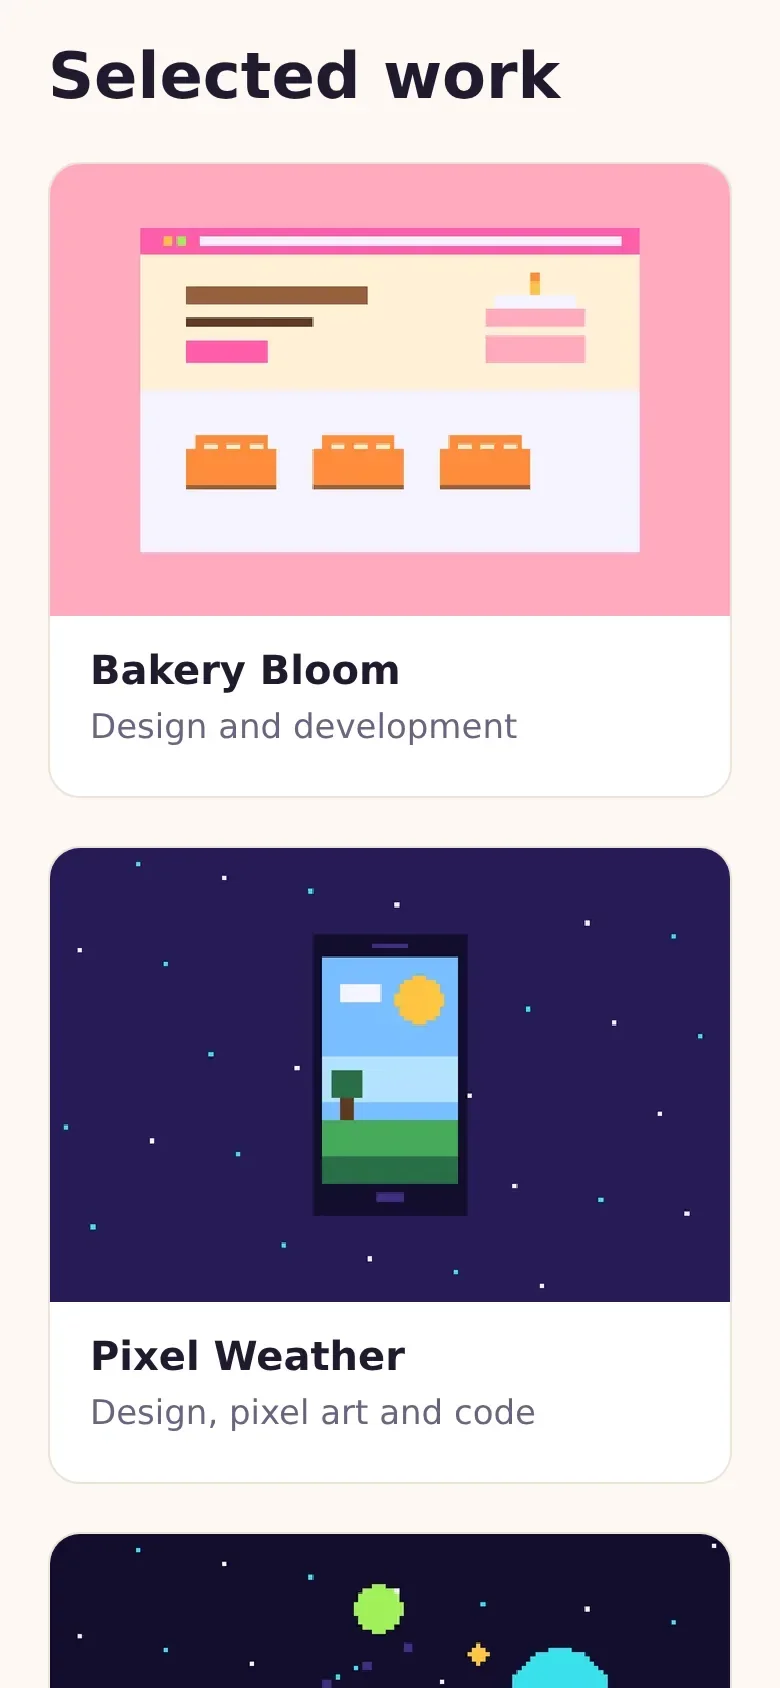
Die meisten Besucher kommen mit dem Handy. Öffne die Entwicklerwerkzeuge deines Browsers (F12) und schalte die Geräteansicht ein, um die Website in Handygröße zu sehen. Der Kopfbereich bricht um, die Überschrift des Heros schrumpft mit clamp(), und die Karten stapeln sich in einer Spalte:
Den Code prüfen
pnpm typecheck führt astro check aus, das jede Datei nach Fehlern durchsucht, etwa nach einer falsch geschriebenen Variable oder einer Prop, die eine Komponente nicht kennt:
$ pnpm typecheck07:16:29 [check] Getting diagnostics for Astro files in /home/robin/projects/my-site...Result (36 files):- 0 errors- 0 warnings- 0 hints
Der Produktions-Build
pnpm dev ist zum Arbeiten gemacht: Es beobachtet deine Dateien und baut neu, was sich geändert hat. Ein echter Server führt stattdessen einen Build aus: die fertige, optimierte Website, einmal gebaut. Beende den Entwicklungsserver mit Strg+C, bau und starte:
$ pnpm build07:17:04 [build] output: "server"07:17:04 [build] adapter: @astrojs/node07:17:04 [build] Building server entrypoints...07:17:04 [build] Server built in 435ms07:17:04 [build] Complete!$ pnpm start07:17:10 [@astrojs/node] Server listening on local: http://localhost:3005
Öffne localhost:3005: dieselbe Website, jetzt so, wie sie auf dem Server laufen wird. Der Build liegt in dist/, und pnpm start führt dist/server/entry.mjs mit Node aus. Ändere etwas im Admin und lade neu: Der Build liest das CMS, während er läuft, Inhalte erscheinen also ohne neuen Build, innerhalb einer halben Minute, weil der Client in src/lib/manablox.ts Antworten 30 Sekunden lang aufhebt. Nur Änderungen am Code brauchen einen neuen Build.
Dein Portfolio ist fertig. Im letzten Teil geht es online.